You might also like…


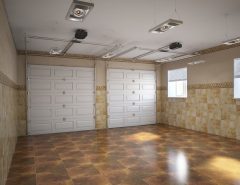
Laminate flooring in basements is a cost-effective, easy way to enhance a finished basement. Here are the basic steps to taking on this flooring installation.
***
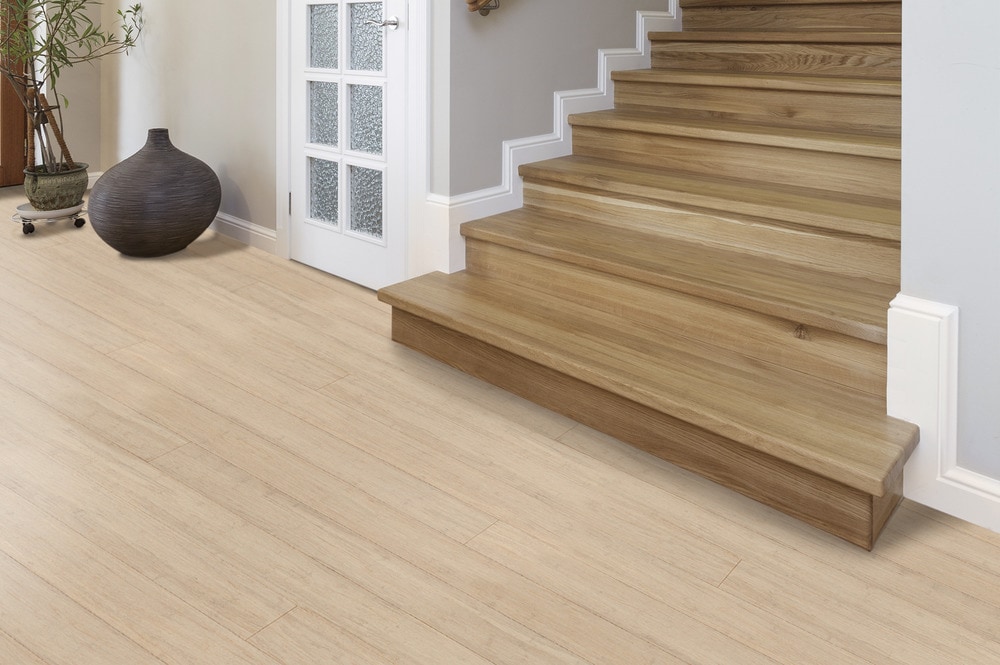
Laminate floors provide an individual with the appearance of expensive floors without having to undergo complicated installations and continued maintenance. Laminate flooring is particularly useful in basements as it allows for the brightening of dark rooms and the adding of both style and color to otherwise drab appearances.
Despite this, laminate flooring is not always the best choice. Therefore, it is essential to do a certain amount of research and testing in order to determine whether this option is the best choice for you.
The following are a series of steps which will help you to correctly determine whether or not laminate flooring is the best option and, if it is, to add laminate to your floors:
Step #1 – Examine condition of your basement substrate
Examine the current concrete flooring in order to determine whether there are any cracks or slopes in the floor and whether or not there is excessive amounts of moisture in the floor.
Step #2 – Check your basement substrate moisture levels
A way to check for moisture is to use heavy plastic that has been cut into squares measuring 2 feet. One square should be placed every 15 feet on the floor. This test can be done on concrete or on linoleum tiles but not if the flooring is solid linoleum or carpeting.
Step #3 – Seal your substrate
Secure each square with duct tape and ensure that all of the edges are sealed. If the plastic is being placed over linoleum, maximize the number of seams present under the sheet.
Step #4 – Check for excessive moisture
Let the sheets rest on the floor for approximately three days, during which time your laminate boards are allowed to acclimate in the space. After this time has elapsed, check the sheets to see if water has accumulated beneath the plastic. If there is condensation present, laminate flooring should not be used in the basement. You can try to correct the problem using a concrete sealer.
Step #5 – Place the underlayment
If no moisture is present, place a foam underlay beneath the laminate flooring. This solid-cell foam will prevent the future buildup of moisture. Even if there is no moisture detected in the basement, it is often a good idea to install subflooring. This can save large amounts of money in the long run as, due to water damage, flooring may need to be replaced which would cost exponentially more than subflooring.
Step # 6 – Allow for expansion gap
During the process of installation, make sure that you permit ½ inch to surround the perimeter of the flooring. Laminate typically contracts and expands to a certain degree, similar to hardwood flooring.
Step #7 – Measure the space and allow for accurate cuts
There will no doubt be areas for which the planks need to be cut in order for them to fit into a certain area. Make sure to measure the space between the placed boards and the wall so that you will be able to accurately cut the plank. A table saw is the best and safest way to cut these planks.
Step #8 – Begin layout of laminate floor planks
After you have placed the liner on the floor, you can install the laminate. With the groove and tongue, connect planks in a row and fix to the floor.
Step #9 – Remember to stagger plank seams
Make sure that the seams are staggered when you are adding multiple rows. This will provide the flooring with more strength as there will be no clear line of breakage.
Step #10 – Use jigsaw for irregular corners and fixed objects
A jig saw can be used for those areas which are irregular such as corners or for locations which contain objects that cannot be moved, such as poles.
Step #11 – Ensure accurate and complete coverage
Repeat all of the above steps until the entire basement is covered with the new laminate flooring.
Step #12 – Add trim and accessories
After the flooring has been installed, some base or trim boards should be placed around the perimeter of the roof so that the area will have a more finished look.
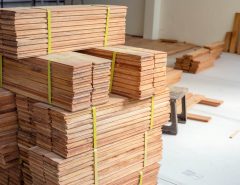
Always leave time for acclimation before you start
Unlike other types of flooring, such as hardwood floors, the majority of laminate flooring is accompanied by warranties. However, similar to hardwood, laminate should not be installed in the home right after purchase.
Instead, the flooring needs time to acclimate to its new environment. Therefore, store the new flooring for between 5 and 7 days after purchase. This will allow the flooring to become acclimated to your home’s environment.
Safety first
As with any other do-it-yourself project, make sure that you are wearing protective gear such as safety goggles and a simple face mask when installing new laminate flooring.
For more on laminate flooring installation, here’s another article that provides some useful detail about where it’s viable to install laminate flooring.
Otherwise, enjoy your new flooring!

 (No Ratings Yet)