How to Finish Hardwood Floors
Finishing hardwood floors is never an easy undertaking, even for professionals who do it frequently. It is always hard work, but knowing exactly what to do is half the battle. The information below assumes that the floor has already been installed.
Remember standard safety guidelines and put them into practice throughout the duration of the project.
Finishing Hardwood: The Supply Checklists
There is an extensive list of tools and materials to have on hand for all hardwood jobs. If repairs or refinishing is necessary, other tools will be added to the list. Making sure to have everything for the job before starting work is the best way to ensure the process goes smoothly.
The following items will be required for all hardwood floor jobs:
- Carpenter’s Pencil
- Circular Saw
- Hammer
- Utility Knife
- Protective Eyewear
- Ear Plugs
- Face Mask (if necessary)
- Carpenter’s Square
- Shop Vac
- Pry Bar and Wood
- Wedge
- Extension Cord(s)
- Fan(s)
- Nail Belt
The following items will be required for hardwood repair jobs:
- Power Drill with Multiple Speeds
- Drill Bits
- Drill Bit Stop
- Nail Set
- Chisel
- Putty
- Caulking Gun
- Pry Bar
- Screwdriver
- Graphite Powder (used to silence squeaks)
- Adhesive (for replacing damaged boards)
- Finishing Nails
- Wood Screws
- Cloth Rags
- Flooring Strips
- Wood Putty/Filler
- Wood Plank for Bridging
The following items will be required for finishing hardwood jobs:
- Wood putty/filler
- Putty knife
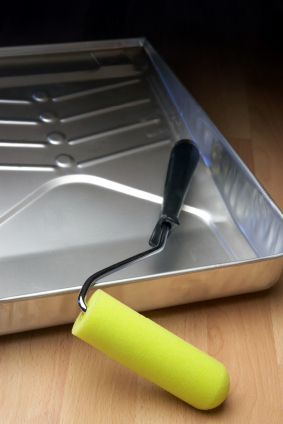
- Paint Tray
- Paint Roller
- Drum Sander
- Edge Sander
- Orbital Sander
- Paint Scraper
- Nail Set (if your floor has been installed face nailed)
- Mop (Lamb’s Wool)
- Sheets of Plastic
- Duct Tape
- Wood Stain, if not going with a natural finish
- Tack Cloth
- Discs and Pads for Sanders
- Coarse Grit Sandpaper
- Medium Grit Sandpaper
- Fine Grit Sandpaper
- Steel Wool (#2)
- Paint Stick
- Wood Sealer
- Polyurethane
Preparing for the Job
Before beginning to get the floor ready, there are a few things to remember. Permits may be necessary depending on the location of the home and the total amount of the repairs or upgrades. Check with local government agencies to confirm.
Make sure to have plenty of time. It is difficult to estimate how much time any refinishing or repair job may take. The larger the room, the longer the job is going to take, but there must also be time for each coat to dry. Keeping a clear schedule will keep things on track and help to reduce stress during the job.
To prepare for the job, the following supplies will be required:
- Hammer and Nail Set
- Cloth Rags
- Tack Cloths
- Mop (Lamb’s Wool)
- Mask
- Paint Tray
- Fan(s)
- Power Saw (for Repairs)
- Drill (for Repairs)
- Tape (for Repairs)
- Chisel (for Repairs)
Remember, a few specialty tools may be required:
- Shop Vac
- Drum Sander
- Edge Sander
The drum sander will be used for the majority of the floor. The edge sander will take care of the edges of the floor. The vacuum will get rid of dust and wood particles.
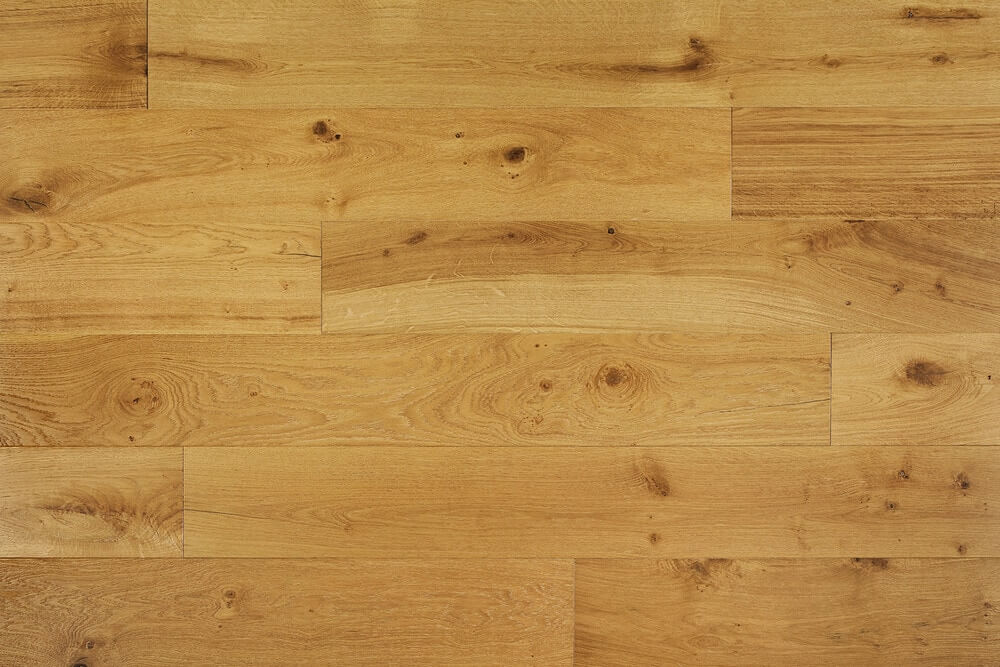
If the wood floor is in bad shape, don’t worry about covering it with carpet or installing an entirely new floor. Since they are durable floors, even after many years of use, wear, and tear, refinishing hardwood can restore it to its natural beauty.
Finishing Hardwood: Before You Begin
Before any sanding work can begin, it is important to take stock of the floor and take steps to get it ready. Look at the flooring very closely to see if there are any damaged boards and replace them. Look for any nail heads that may be above the flooring, set them and fill the holes with wood putty. Remove any molding around the floor at the wall. If removed carefully, the molding may be reused once the floors are finished. Look carefully for any areas where boards may be cupped or crowned, because these areas will need to be sanded more to achieve a uniform look.
Take time to repair squeaky boards. There are a few different, fairly simple ways to do this. Insert a shim from below the floor, between the squeaky spot and the floor joist. If this doesn’t work, try wrapping a 2 x 4 board with a towel and tapping it with a hammer over the squeaky spot. If this doesn’t work, try a lubricant such as talcum powder or graphite powder between the squeaky floor boards.
If the entire floor is warped because of excessive moisture exposure, rather than repairing each individual board, sand the entire floor down until it is level.
If there are damaged boards, cut them out and replace them individually. Be careful not to harm any of the boards next to the damaged one, or it will create more work. Use a hammer, chisel, and pry bar to remove the damaged board. Measure the length of the missing piece and cut a new board to match it. Remove the tongue so it may fit into the space. Remove the tongue from the other board that is sticking out. Apply subfloor adhesive to the new board and install it. Use a drill to make pilot holes in the new board to nail it to the subfloor with finishing nails. Countersink the nails and cover them with wood dough.
Finishing Hardwood: Sanding the Floor
Before You Sand
Before sanding should begin, a few more steps should be taken to completely prepare the floor for sanding. Neglecting to take these measures will present problems later on in the refinishing process.
Take all furniture out of the room. Remove all curtains from the windows. An alternative to curtain removal is to fold and hang them from the curtain rod, and then seal them with plastic to prevent any chemicals or dust from getting on them. Remove any floor registers and seal off the air ducts with plastic. Turn off any pilot lights and any appliances as the dust produced from sanding is flammable. Seal off all electrical outlets with plastic, as well. Seal the room off from the rest of the home to avoid spreading dust problems, but remember to keep windows accessible so they can open, and use fans to keep the room well ventilated.
If not already done, carefully remove baseboards from around the base where the floor and wall meet, using a pry bar and wedge to prevent damage to the boards. Number the boards to make it easy to remember where they were to put them back after the floor is finished. Using a putty knife and wood dough, seal any cracks and holes. The wood putty should match the color of the natural hardwood and should be given plenty of time to dry before sanding. After the wood dough is dry, sweep the floor and vacuum with the shop vac.
Sanding
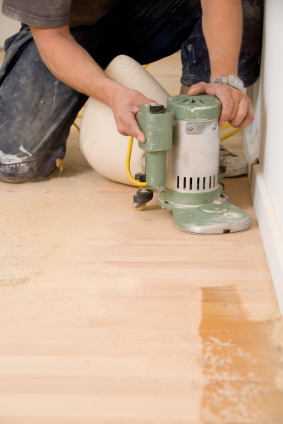
This is the most difficult part of the entire process, because the person sanding the floor must be careful not to allow the sander to gouge the floor. If this happens, the floor may be damaged beyond repair. Taking time to learn proper sanding techniques and use of the sander equipment will help prevent this from happening. If it happens in just the right area of a room, it may be able to be covered with furniture, but don’t count on that.
Using a sander requires a little practice. Get someone to help if there is any doubt in ability to use it. Practice on a couple pieces of plywood with fine grit paper before starting on the real room.
Make sure to have sand paper of varying grits from fine to coarse. Each kind of sand paper will have a use in getting the floor ready to stain. It is important to have enough of each kind of paper to get the job done. Most jobs should plan to have at least 10 sheets of each kind of paper on hand. There will be more than one sanding “pass” required to get through all the old finish and stain. The exact number of passes required will be determined by how much old material there is to get through. Be sure to get all the old material off the floor no matter how much time it takes, to be able to get the job done right.
Start sanding with a rough grit paper to remove the bulk to the material and to help level the floor out. Sand 2/3 of the floor in one direction and the remaining 1/3 in the other direction. Never reposition the sander with the drum on the floor. Always tilt it backward when moving the sander. Overlap all back and forth passes to ensure the sanding is evenly done.
Use an edge sander with a rough grit paper to get any areas along the walls and missed by the drum sander. Check the floor for nails, cracks, and gouges again. Countersink any nails and fill in the cracks accordingly. Allow to dry and re-sand with a medium grit.
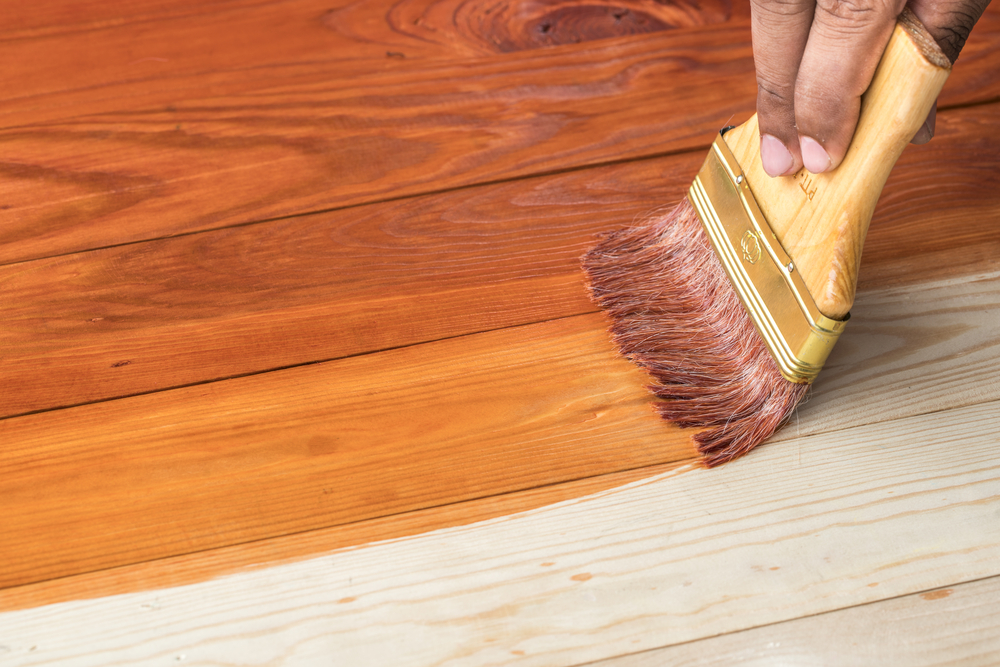
Finishing Hardwood: Staining
Staining the floor is completely optional. Some people decide just to go straight to the protective finish because they like the color of their floor. If there is going to be a stain, look at several samples applied on extra floor boards because it looks different on the can than it does once it is on a floor. If the floor is blotchy, staining may be necessary to even out the color variations.
The sooner the stain is applied to the floor after sanding, the better. If possible, start applying the stain the same day after the floor is sanded. Applying the stain and finish soon after the sanding is complete protects it from moisture and other damage that could create an uneven floor surface, diminishing the quality of the finished floor. Before staining can begin, however, the floor needs to be completely free of dust and debris. Sweep the floor and vacuum with the shop vac. Then go over the entire floor with a tack cloth. Any dust, debris, or dirt left on the floor could mess up the remainder of the job.
A wood sealer may be a good idea to use before staining the wood, because it will open the pores of the wood to help them accept the stain. It will not serve as the protective finish for the floor. Some stains do, however, have both the stain and the finish in one. It is important to take it slow when applying the stain, to ensure the coat is evenly applied to avoid blotches, spots, and other discoloration issues.
Pour all the needed stain into a container and mix accordingly. Make sure you follow the manufacturer’s directions carefully! Apply with brushes, rollers, or cloth rags. Apply a good amount in a small area and wait for about 10 minutes to ensure the desired color result before continuing with the rest of the floor. Wipe off excess finish with cloths frequently. Stir the finish frequently because the pigments are in suspension, and do not store the soaked cloths together because of the risk of spontaneous combustion.
It is advised to buff the floor with a #2 steel wool disc before applying the final coat of finish.
The Finishing Touches
There are many different kinds of finish available, though surface finishes have generally replaced penetrating finishes since they make the floors easier to clean and maintain. If a penetrating sealer was used during the staining process, make sure the surface finish is compatible before starting the process.
Finish can be found in at least three different gloss types: low-gloss/matte, semi-gloss or high-gloss. High gloss is shinier, but shows dust easier than the low gloss. As the gloss level has nothing to do with the durability of the floor, the gloss level of the finish is nothing more than a personal preference.
Make sure you follow the manufacturer’s directions carefully! Apply the finish evenly moving in the direction of the grain, stirring it properly as directed to keep hardeners in place. Sand with a fine grain between each coat, and apply at least two or three coats, if not more, for the ultimate protection. Use a slower drying air cured finish, rather than a fast drying moisture cured finish to allow ample time between coats. After each sanding, use a vacuum and tack cloth to get rid of all the dust, and use a damp mop to make sure it is all gone.
When the final coat of finish has dried, replace the baseboards and move the furniture back into the room, remove the plastic bags from the curtains or re-hang them in the room. There may be fumes for about a week, but it will be safe to live in.
Arnold feaster
I need my floors restored
richard byler
We plan to use tung oil to finish unfinished hickory flooring. We do not plan to use any other finish on the wood. Does this sound ok????
Also, do you think we should sand the flooring coming from you after it is installed?
Mary
what is the best sander to use to fininsh off an oak floor with 220 grit just before staining?