How to Lay Parquet Tile Flooring
Parquet is one of the many stylish flooring options available to today’s homeowners. This flooring style is fairly easy to install, but since it does emphasize unique geometric patterns within the tiles, it’s important to do it carefully. Use this how-to guide for laying parquet flooring to make sure your parquet gets a seamless look that emphasizes its beautiful patterns and design.
What is Parquet?
If you love a little retro nostalgia, you might be interested in adding parquet flooring to your home. Originally used in France in the 17th century, parquet became a popular flooring option in the 1960s and 1970s before falling out of fashion for a few decades. Recently, it’s been back on the rise, especially with homeowners looking for a distinctive flooring style.
Instead of long planks like hardwood floors, parquet flooring comes in tiles comprised of smaller planks that have been arranged in a specific pattern. These tiles can be arranged in certain ways to create beautiful mosaic designs on the floor. Essentially, it combines the beauty of hardwood with the eye-catching designs of tile. Though some parquet flooring options have a retro-inspired look, there are also options available for homeowners who prefer a modern look.
Parquet is a versatile choice since it can be used on many types of subfloors, including:
- Solid wood
- Concrete
- Sheet vinyl
- Vinyl tile
- Ceramic
- Terrazzo
- Slate marble
- Cork
- Chipboard
- Plywood
- Particle board
Choosing Your Parquet Flooring
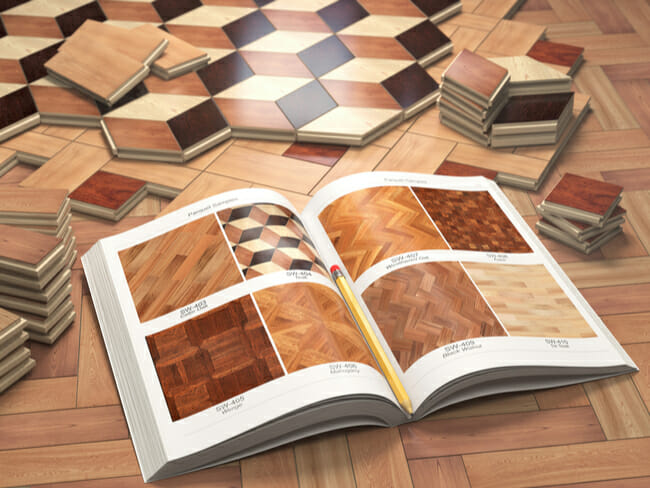
Picking out your parquet flooring is a fun process. In addition to different wood colors and grain patterns, you’ll be able to choose from a wide variety of tile designs. Make sure you get enough tiles to complete the pattern of your choosing. Once you have the tiles back at home, unpack them and place them in the room where they will be installed.
The tiles should sit out for at least three days before you begin the installation process. This allows them to adjust to the room so they don’t expand after being installed. Ideally, the room should be between 60-75 degrees Fahrenheit and set to 35-55 percent humidity. If the tiles will be added on top of a concrete slab, set the tiles at least 4 inches off the floor while they adjust.
How to Install Your Parquet Flooring
1. Preparr the Subfloor
Expose the subfloor and remove all baseboards and shoe moulding. Then, use a floor leveling compound to ensure it’s even from wall to wall. You should spread this compound into any low areas until everything is level. If there are particularly elevated spots in the subfloor, you may need to use a belt sander to even them out with the rest of the floor.
Remove all dust and debris from the subfloor. Start by vacuuming; then use a damp cloth to wipe up any remaining dust.
2. Plan Your Floor Layout
Before you start attaching any parquet tiles to the floor, you’ll need to decide on the layout. In a fairly rectangular room, it’s easier to find the center point of the room and work out from there to create a consistent design. However, if you’re working in a space with an odd space, such as a kitchen with protruding cabinets or an island in the center, it is easier to start your design along the longest open wall and work toward the other side of the room.
Decide on the configuration you’ll use for the tiles. In many cases, this involves rotating the tiles to create a pattern on the floor. It often helps to set out a large section of unglued tiles in the pattern you want to create, then snap a photo of it. You can use this photo as a reference to make sure you are recreating the pattern accurately as you glue down the parquet tiles.
3. Glue Down the Tiles
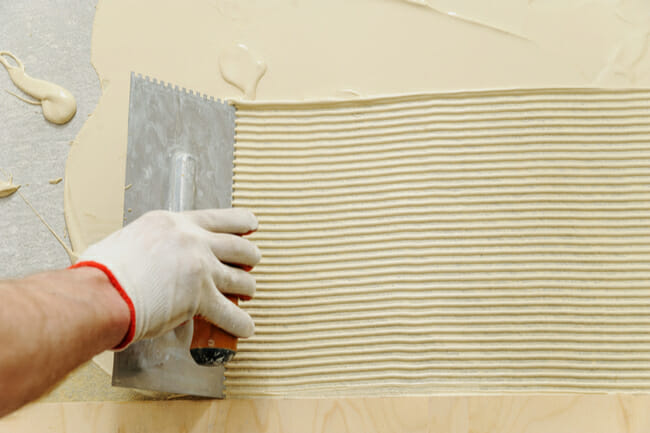
Now it’s time to start attaching your parquet tiles to the subfloor. Note how large the expansion gap should be between the tiles according to the manufacturer’s installation instructions. In many cases, this gap will be about one quarter inch. Before you begin using any adhesive, make sure the room is well-ventilated with open windows and running fans.
Work in small sections, spreading the adhesive recommended by the manufacturer and using a notched trowel to mark the recommended gap between parquet tiles. Align the first tile according to your layout; then continue until the small section of adhesive is covered. Press gently when aligning tiles together; applying too much pressure could move tiles out of position.
Continue working in small sections until the floor has been covered. When you reach the walls or areas where a full tile will not work, use a jigsaw to cut the tile to fit. Remember to leave the proper expansion gap between the tiles and the wall.
4. Roll the Floor
Once you’ve laid down all your parquet tiles, you can go over the floor with a weighted roller. This may not be necessary with certain types of adhesive, but it does help to ensure that the tiles are firmly in place.
Even after the roller has been applied, wait at least 24 hours to move any furniture into the room or allow heavy foot traffic in the area. This gives the adhesive time to set up fully, and it helps to prevent any tiles from being moved out of position.
5. Sand the Floor
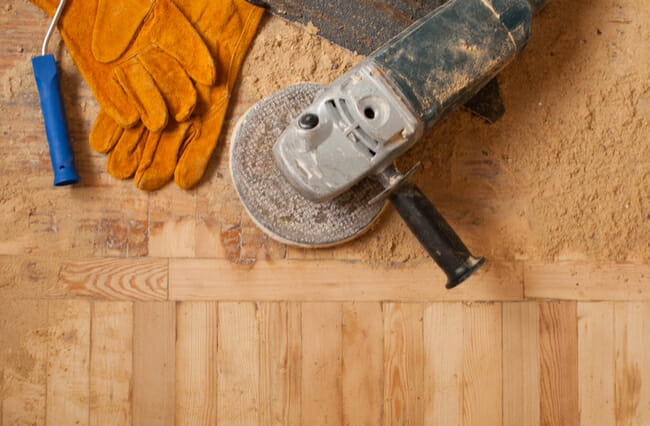
Once the parquet tiles have had time to set fully in the adhesive, you can begin finishing the floor. While some tiles come prefinished, others need sanding and staining. An orbital flooring sander can be used for this. Start with an 80-grit sandpaper; increase to 100 grit and then 120 grit. You will have to sand by hand in the corners of the room and under any cabinet toe-kicks.
A stain may be applied, though this is usually recommended only if the tiles are comprised of a single species of wood. If you prefer not to add a stain, a clear polyurethane finish can be applied with a foam applicator to help protect the floors. After the first layer as been applied and fully dried, sand it lightly before applying a second coat.
With this guide, you can create a stunning floor design in any room using parquet tiles. Be sure to read any of the manufacturer’s instructions closely before you get started on this DIY project.
Resources:
https://www.builddirect.com/blog/parquet-flooring-possibilities/