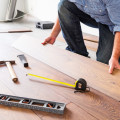
How to Replace Damaged Areas of Hardwood Flooring
 Hardwood flooring adds an elegant touch to any home, whether you lay the floor yourself or have original, antique flooring. However, damaged areas of hardwood flooring can not only wreck the aesthetic of the room, but they can also throw your OCD into high gear. Fortunately, replacing damaged areas of hardwood flooring isn’t as difficult as you might think. Novice DIYers get ready: It’s time to channel your inner Bob Vila and restore the luster and beauty to your hardwood floor.
Removing or Changing a Few Planks
 Jasper Hardwood – European Brushed Oak Collection / SKU: 10096546
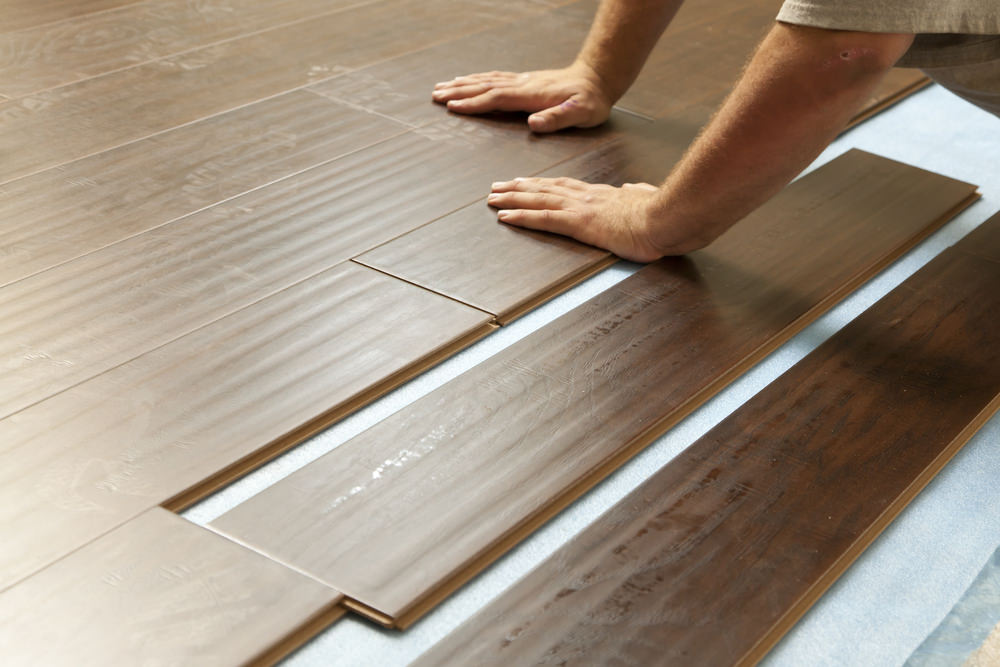
If you’ve noticed a few planks have some damage, but the rest of the floor is in relatively good shape, replacing everything is a waste of time and money. It’s quick and easy just to remove the disfigured plank without damaging the rest of the flooring, especially if they use the tongue-and-groove design found in most modern hardwood flooring. Tongue-and-groove flooring enables the wood to fit together snugly while also controlling vertical movement. The best part is that when a tongue-and-groove plank succumbs to water, scratches, or splits, it’s simple to remove.
Before getting down to business, decide which planks are ready for removal. Look for cracks, splits, and other imperfections in the wood. If a plank has a small chip or scratch, don’t automatically mark it for demolition. Oftentimes, you can use a stain pen, a wood flooring repair kit, or a combination of mineral spirits and sanding to repair or to hide the scratch. If the board or boards are beyond repair, it’s worth it to remove all of them at the same time.
Start the removal process by marking which boards are coming out. Once you’ve decided which ones are ready to go, you have two options. If you don’t have a circular saw, start by marking a perpendicular line midway down the board. Use either a half-inch or three-eighths-inch drill bit to drill into the board, but make sure you don’t get down into the subflooring. After you’ve made the hole, use a chisel to split the board in two for easy removal. If you have a circular saw, cut down each side of the board to remove the tongue(s).
Now that the board is separate from the rest of the flooring, you should be able to pry it out without a ton of effort. Use a nail puller or the backside of a claw hammer to remove any extraneous nails from the subfloor. From there, replace the new piece of wood. If it doesn’t fit, you may have to cut off the tongue or shave one side with a saw. Cut small areas if possible to ensure you don’t the board too thin.
Before putting the board or boards in place, put construction or wood glue on one side of the board to help it stay in place. Then, use a nail gun or a hammer to nail the board into place. Be careful not to dent the wood if using a hammer.
Fixing Water-Damaged Hardwood Flooring
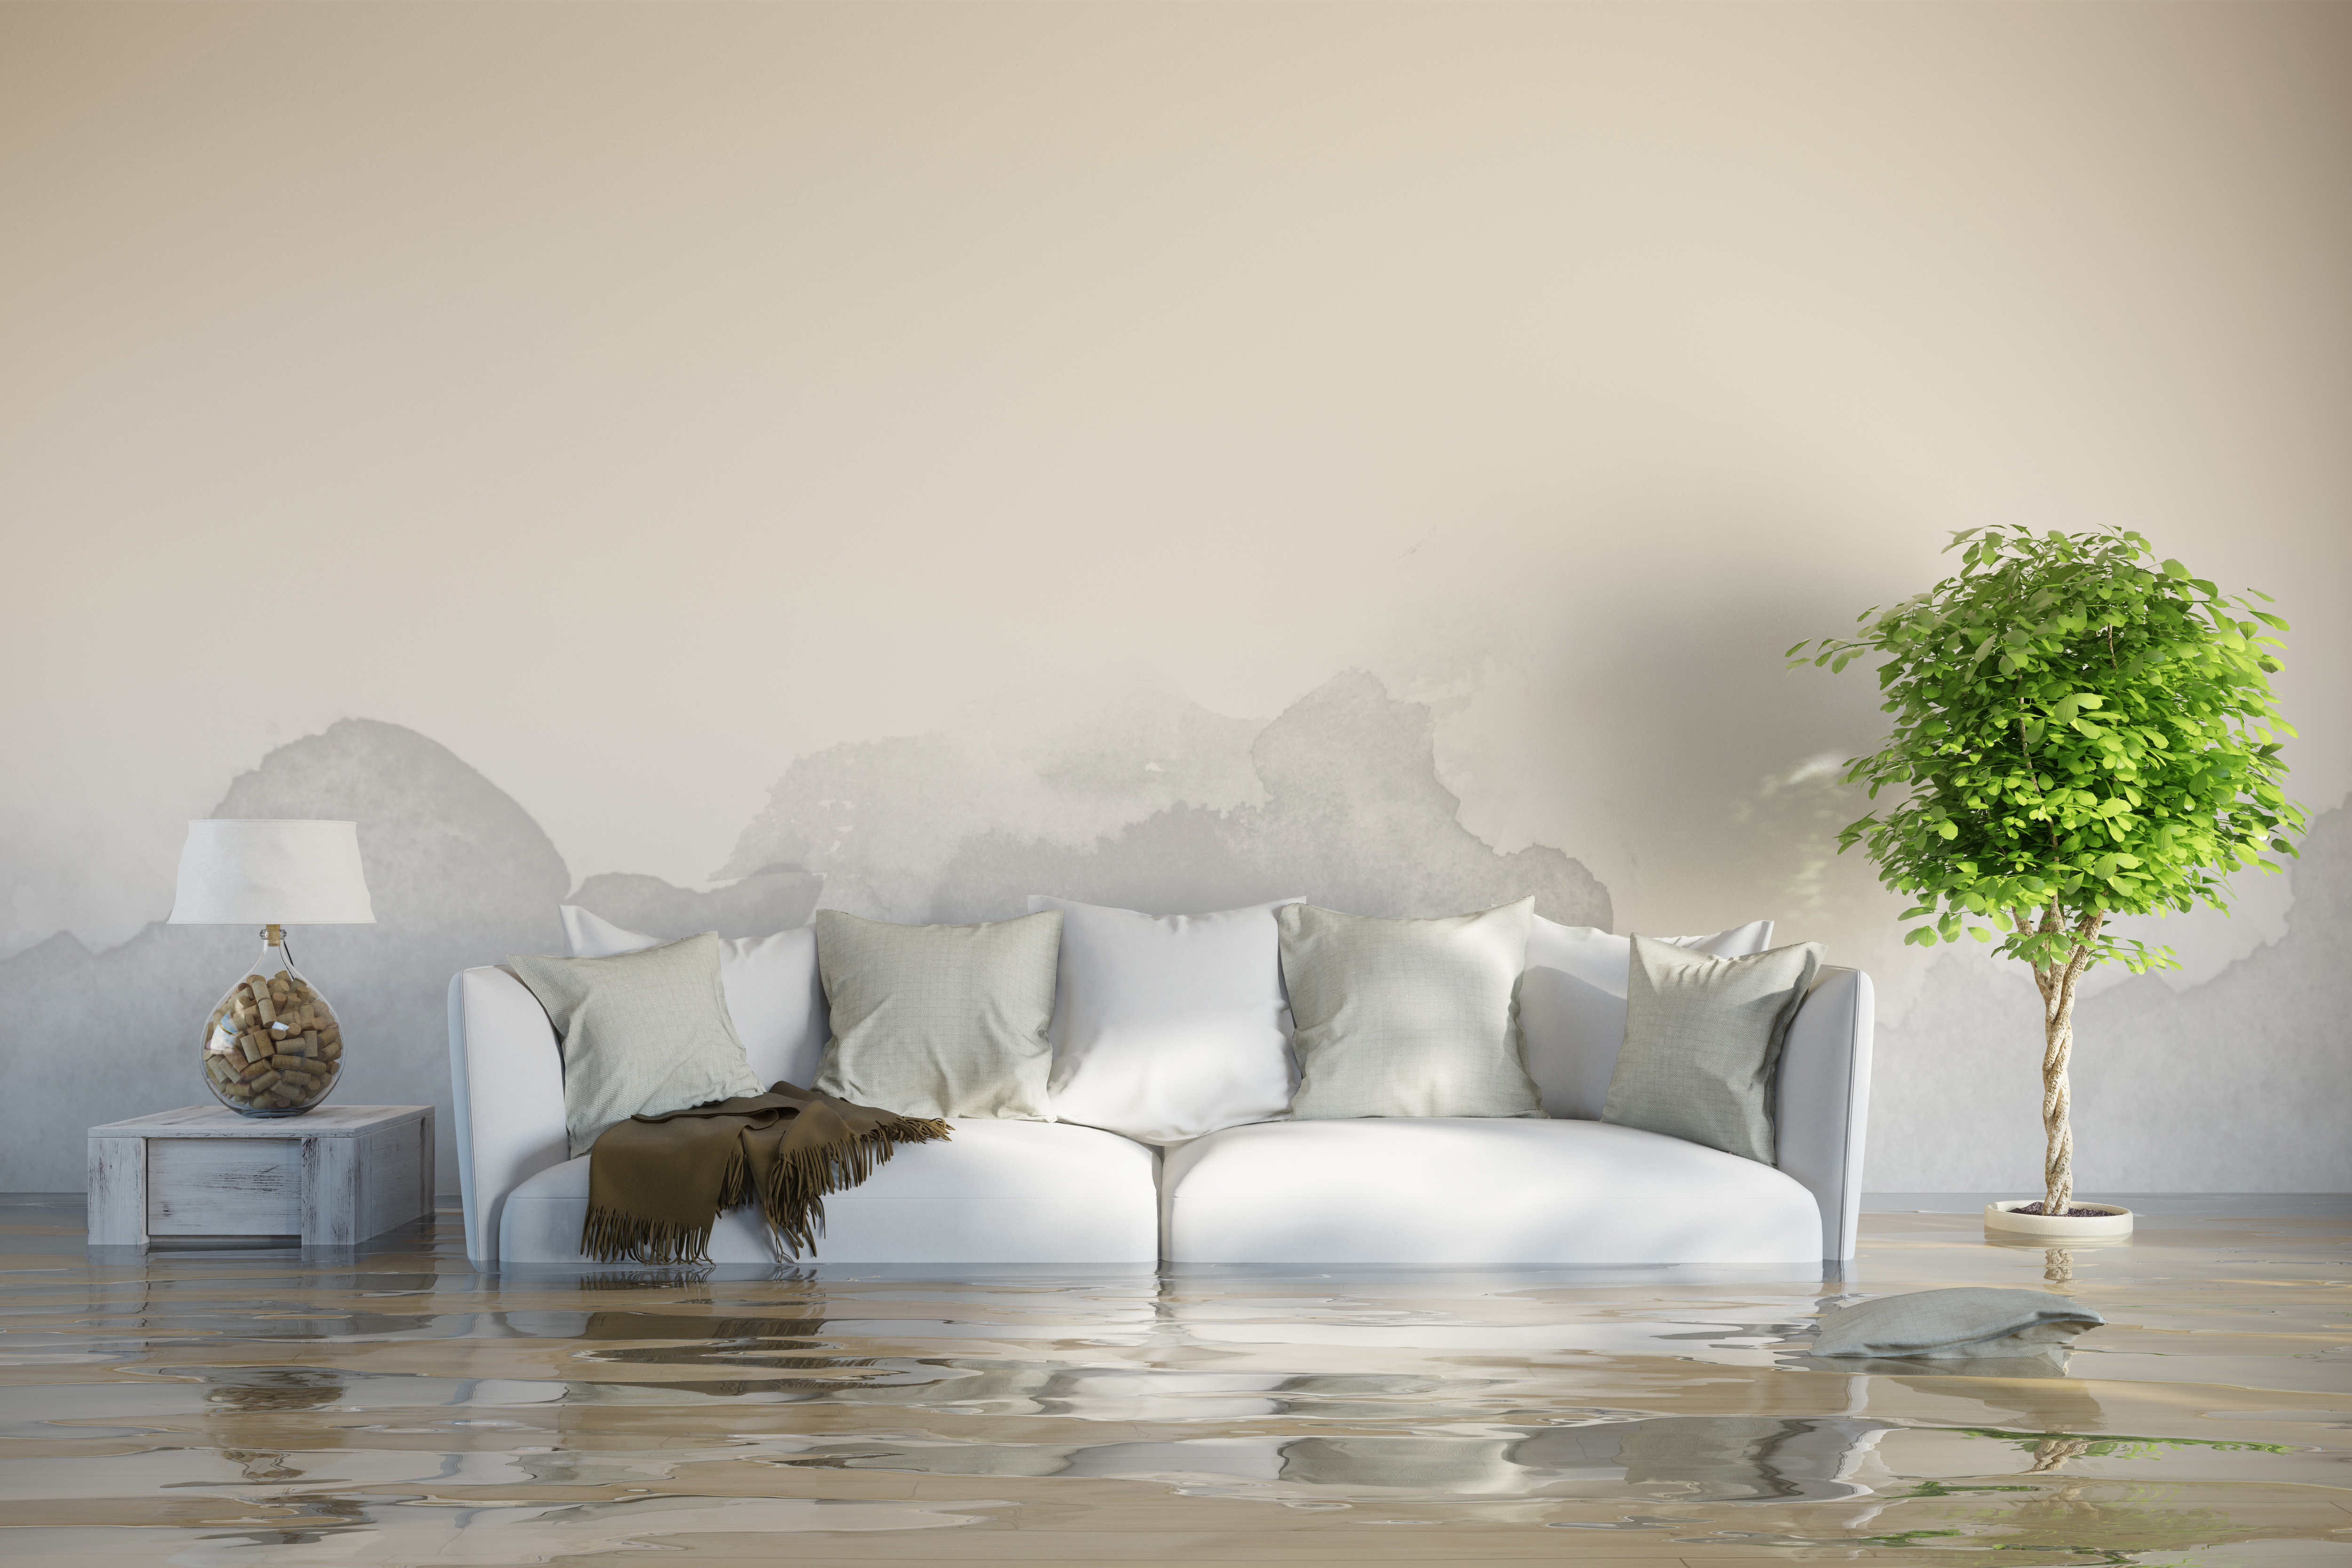
Water damage is one of the leading causes of hardwood flooring replacement in newer floors because it affects the wood quickly. By the time you notice there’s a problem, it’s almost always too late. While the polyurethane coating on the flooring keeps out minor water spills from your kids or a dropped beer, a leaking refrigerator and a dishwasher can wreak havoc on the wood in a short time.
The most telltale sign your flooring has water damage is cupping. Cupping occurs when the wood absorbs an excessive amount of water, which causes the wood to swell. Once the wood swells, it expands and pushes the boards together, causing them to become damaged at the edges. It’s relatively easy to spot, and if it’s in the kitchen, the bathroom, or the laundry room, water damage is the typical culprit. If no water is present, cupping is usually the result of poor or improper installation, which could mean you have to replace the entire floor.
Rarely do you pray for water damage, but when it’s between that and an entire floor replacement, water damage is the lesser of two evils. The first step to repairing water-damaged flooring is to find the source of the leak. Without finding the source, you’ll end up repairing the same spot repeatedly.
After determining the water source, it’s time to repair. If the water damage is somewhat light, you can often get away with sanding the floor down about a quarter-inch and staining them to match the rest of your flooring. When the damage is more severe, the fix becomes much more labor intensive.
Start by removing the affected planks as mentioned previously. However, you’ll want to inspect the subfloor for moisture. If necessary, replace this portion as well, and if there’s concrete underneath that’s harboring moisture, allow it to air-dry before replacing the subfloor and hardwood. Once you’ve removed these portions of the floor, put a new piece of subfloor in place and place a moisture barrier on top. Put in new planks just like you did before.
Once you have the new planks in, a staining might make the floor look brand new. However, if you’re worried about uniformity or the water damage is widespread, refinishing the wood flooring across the entire room is your best bet.
Preserving Your Hardwood Flooring

Although a damaged floor is sometimes unavoidable, prevention reduces the occurrence drastically. Preserving your hardwood flooring is also easier than it might seem. Clean your floors regularly to remove grime and moisture, put down area rugs and mats in front of doors to reduce scuffs and scratches, and implement a no-shoes policy in the house to make sure your wood flooring maintains its look and structural integrity.
By following these tips, replacing your hardwood flooring becomes second nature, no matter what the cause of the problem. From water damage to cupping to buckling and everything in between, you’re now an expert on a job you thought was over your head. Now it’s just like new under your feet.
Resources:
https://learning-center.builddirect.com/flooring/repair-scratch-dent-hardwood-floors/
https://www.builddirect.com/blog/5-ways-to-preserve-your-hardwood-flooring/