How to Install Bathroom Floor Planks
Your bathroom floor takes a ton of abuse. That’s true whether you’re dealing with a powder room mostly used by guests or a master bathroom suite that you’re in and out of all day long. That’s why you need durable flooring installed in every bathroom.
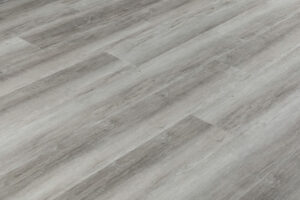
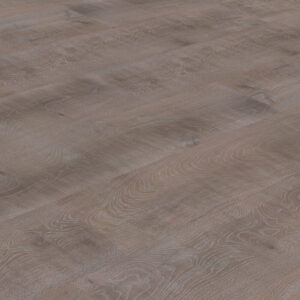
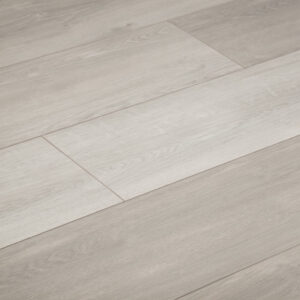
When it comes to a new bathroom flooring installation, laminate, luxury vinyl and waterproof engineered hardwood planks are all an exceptional choice. Available in a range of different styles to match your home’s design theme and your bathroom’s existing color scheme, myriad styles from ultra-modern to simple, traditional looks are available. Flooring planks are also available at multiple price points so you can get the look you want even if you’re on a tight budget.
If you choose to install bathroom floor planks on your own it can help you save money and get the bathroom style you want ASAP. Bathroom floors do have special installation needs though, so you’ll have to follow certain procedures to make sure your floors look good and last for years in a wet environment like a bathroom.
A Guide to Installing Bathroom Floor Planks
Remove Sink and Toilet Fixtures
Many people think that laying laminate, luxury vinyl or engineered hardwood planks should be done with their existing bathroom fixtures in place. While this possible, it is not the best solution if you want a clean, professional look. Instead, you’ll want to remove your sink and toilet fixtures first.
By removing your sink and toilet fixtures before you install bathroom floor planks, you’ll get a more uniform look that’s much more attractive. Below you’ll find more information about how to remove common sink and toilet fixtures so you can begin installing your flooring.
Dealing with Pedestal Sinks
Pedestal sinks are extremely common in powder rooms and guest bathrooms. Removing these is fairly easy, and in some cases, you may not have to remove the entire fixture. If your sink is bolted to the wall, this easy removal process may be possible.
To do this, you’ll simply unbolt the pedestal portion of your sink from the wall and slide it away from the sink – which will remain bolted to the wall. This partial removal is ideal because it means you won’t have to touch your P-trap or water connections in most cases.
If you can’t disassemble your pedestal sink or you have a different type of sink the removal process is a little more involved, but still fairly straightforward. You’ll start by removing your P-trap and water connections. From there, you can unbolt the sink and pull it off the wall.
Store your sink parts in a safe place away from your workspace before you begin your flooring installation.
Toilet Fixture Removal
Removing a toilet fixture from your bathroom is a fairly simple procedure, though you’ll likely need at least one other person to do it. Here’s how you can remove your toilet fixture:
Step 1:
Turn off the water using the shut-off valve. Flush the toilet to remove remaining water. You can use a plunge to force any water remaining in the bowl out. A sponge and bucket can be used to remove remaining water from the tank.
Step 2:
Disconnect the water supply line. If desired, you can remove the tank at this point. You can do this by removing the bolts positioned at the bottom of the tank.
Step 3:
Remove the bolts that hold the toilet bowl in place on the floor. These are typically located under trim caps designed to improve the visual appeal of your toilet fixture.
Step 4:
Rock the toilet back and forth until it comes free. Remove the fixture. Now you can remove the old wax seal and wipe away any remaining wax.
Step 5:
Fill the remaining hole with a rag. This will prevent sewer gasses from entering your home while the hole is exposed.
What About the Vanity?
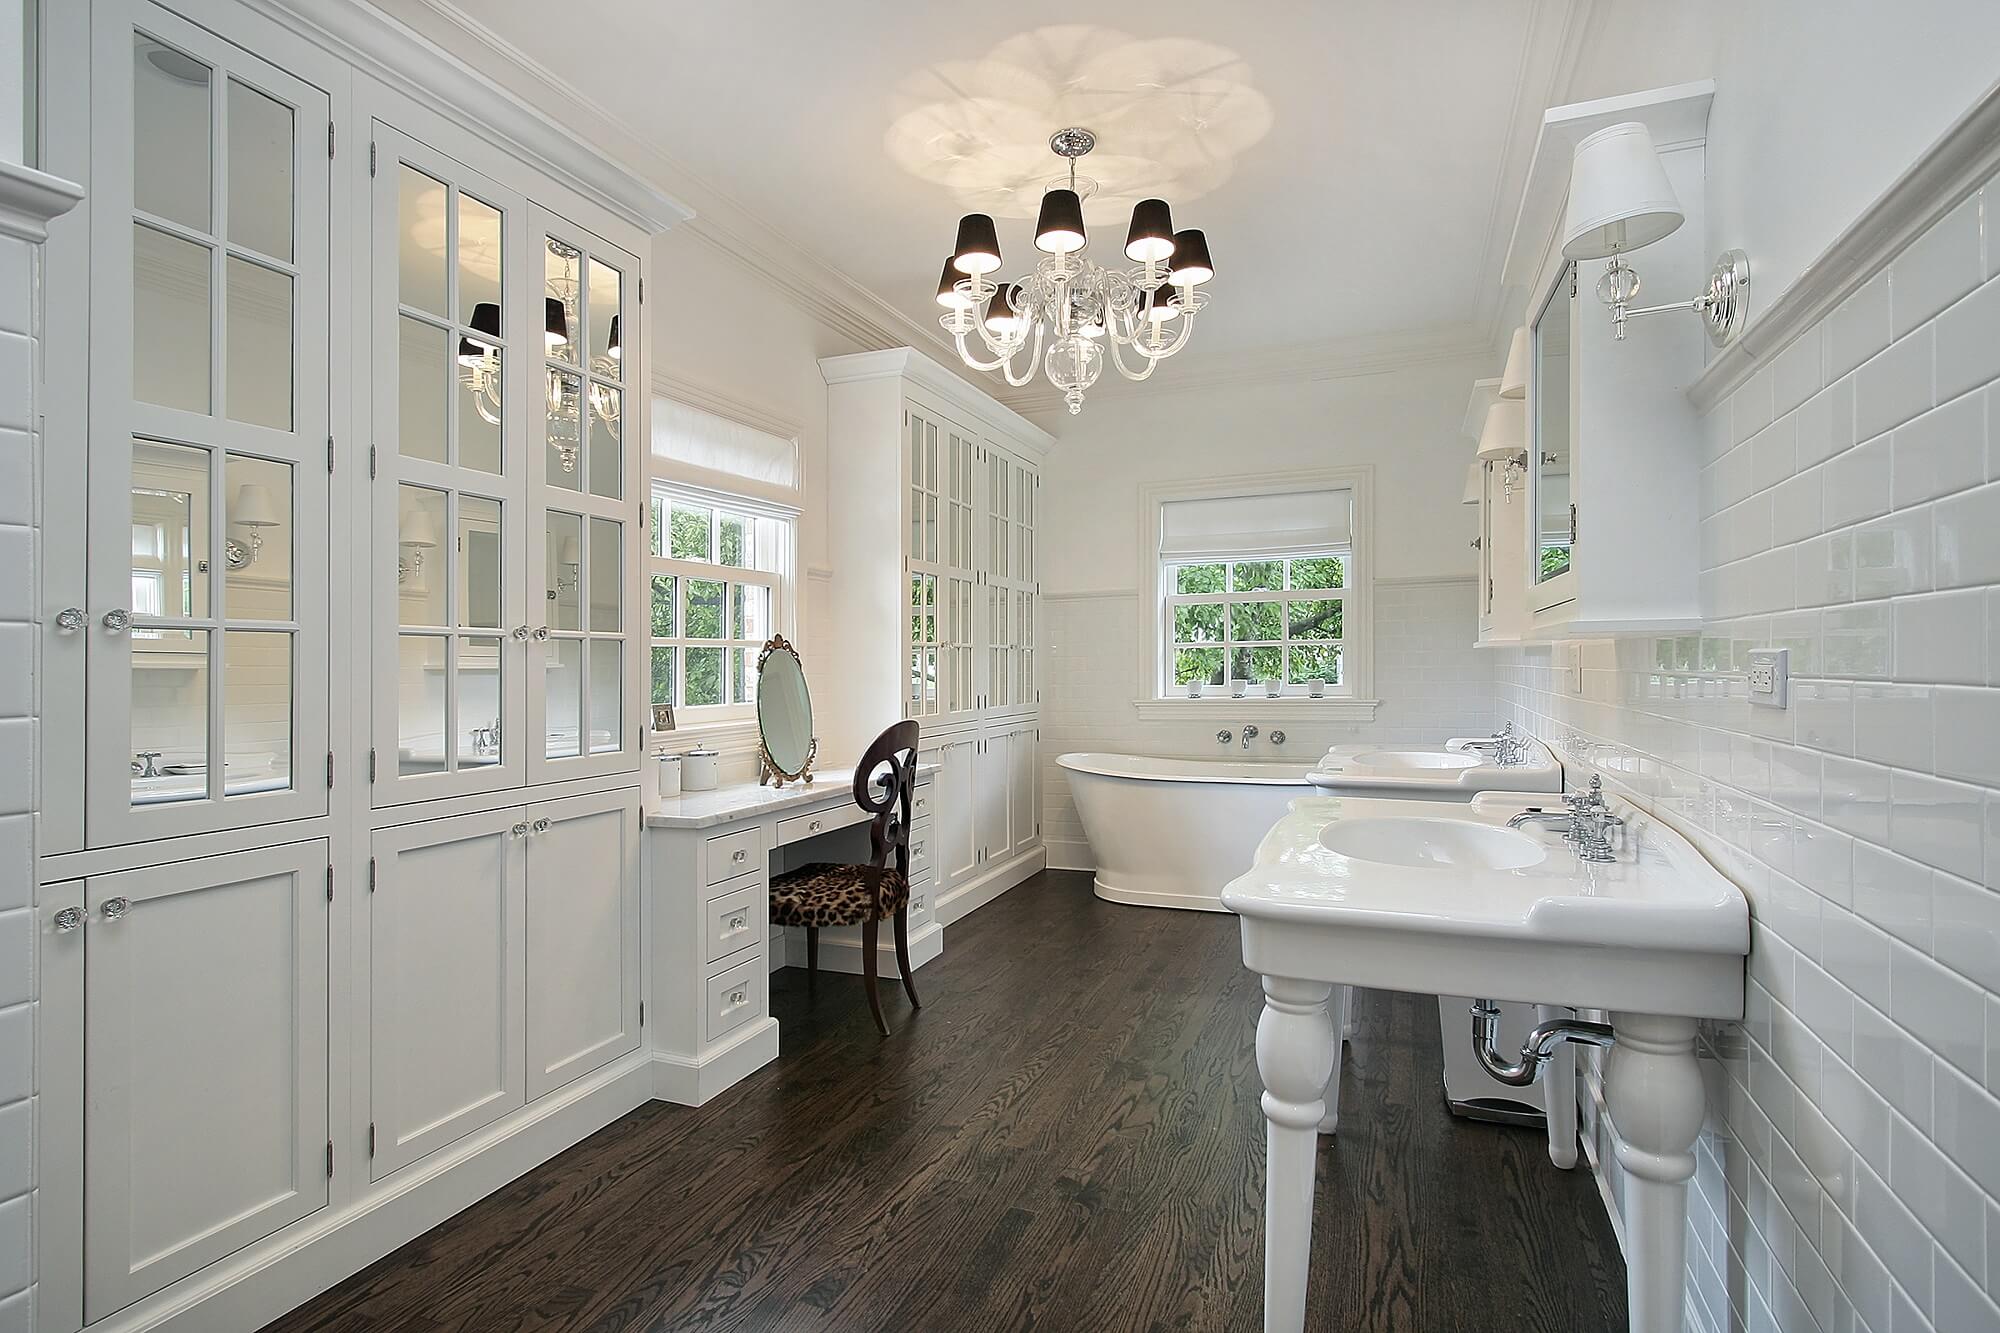
Installing bathroom floor planks under your vanity provides the ideal appearance. In practice though, installing new flooring in a completely empty bathroom often isn’t possible. That’s because your vanity is likely firmly in place and removing it could cause extensive damage to both the vanity and wall.
Unless you’re going for a major renovation, keeping your vanity in place and working around it is your best choice. With clean cuts, you won’t have to worry about a messy-looking installation.
Pull Up Old Flooring
You can’t install your new laminate, luxury vinyl or engineered hardwood without first removing your old floor. With your toilet and sink fixtures out of the room, removing old flooring is the next step.
Removing your old flooring is a fairly easy project as long as you take care to avoid damaging your subfloor. Here are a few informative guides to help you remove common bathroom flooring materials like laminate and vinyl.
You may also need to remove your baseboards even if you’re installing simple click lock luxury vinyl.
Ensure a Level Work Surface
With your old flooring removed, you’re now beginning first steps of your new bathroom floor plank installation. Don’t break out the flooring materials just yet though. Your first step involves ensuring that your work surface is level.
In many cases, a visual inspection will show you that your bathroom floor is not level. This is easy to fix by applying a small amount of leveling compound using a trowel. When dealing with small areas of your floor, a putty knife may work as well.
Look to feather the edges of the leveling compound to make sure it blends perfectly with your existing flooring. Light use of a hand sander or sanding block can help even out of your floors after applying leveling compound if you’ve used slightly too much and notice a ridge or hump.
Alternately, a hand sander can work very well for reducing visible high spots on your subfloor. Work slowly to ensure that you don’t sand away too much material. You’ll have to fill any low spots with flooring compound if you do.
Cut Appropriate Holes
A big part of installing new flooring in your bathroom is ensuring that you’ve got the right size holes around drains and any plumbing elements like your toilet flange. To do this, you’ll want to measure the size of the hole and cut into pieces to be placed in that area using a jigsaw or circular saw.
For your toilet fixture, you should aim for a hole that extends between 2″ and 3″ inside where the base of the toilet will rest. However, cutting a larger hole will make placement easier, so don’t aim for an ultra-exact cut.
A full-plank installation under pedestal sinks is ideal as long as you drill guide holes for the base as you go. Use silicone putty around the edges to secure your pedestal sink in place later.
How to Install Bathroom Floor Planks: Tips from the Pros
Your work surface is ready, level and all fixtures that can be removed are out of the way. The process of installing flooring in a small space like a bathroom is actually relatively simple from here, though you’ll need some specific tools and a few skills to get the job done effectively.
Plan Your Layout
Putting flooring planks in place without adhering them to your subfloor can help you get a sense of what cuts you’ll need to make and where you’ll need to make them. Doing this will also help you choose the planks to cut for your toilet flange and plumbing elements.
Start in a Corner
Use as many full-length pieces as possible before making a cut. Full-length pieces are easier to place and provide a more elegant look.
Use Wood Glue
Wood glue between your flooring planks helps with water resistance. A small bead will help join planks together and keep them in place.
Mind the Gap
Bathrooms are high humidity spaces, which means that your floors can expand over time. To combat this, you’ll want to leave a 1/8″ gap along horizontal walls to allow for expansion.
Leave a Gap Between Floor and Tub
A 1/8″ to 1/4″ gap between your bathtub footing and flooring material helps make room for expansion, which is particularly important around in this wet area. Use clear silicon caulk to fill the gap.
Install a Flange Extender
If your flooring raises the toilet fixture 1/2″ or more off the flange you’ll need an extender piece. Flange extenders are easy to install and mount right on top of the existing flange.
Go Pro
Learning how to install bathroom floor planks whether you choose modern water resistant laminate, engineered floating hardwood or luxury vinyl can be a great DIY project. Not everybody is up to the challenge though. If you’re unsure of how to begin your project or performing basic tasks like removing sinks, toilet fixtures and old flooring materials seems daunting, you may want to call in professionals to help with the job.
A bathroom floor installation isn’t a huge project, so you won’t be hit with huge costs. You can also rest assured that your floors will be durable and long-lasting, which is particularly important in high-use bathroom spaces where water and humidity can do some serious damage.
Time to update your bathroom and give it a brand new look? Maybe you just want to replace worn flooring that’s clearly cracked, damaged or unsafe? Whatever your design goals, our trained representatives can help you find the ideal flooring solution for your home or business.
We can also help you decide which flooring material is right for your bathroom if you’re still on the fence and choosing between engineered hardwood, laminate or luxury vinyl. Reach out to us today so we can help you get your new bathroom floor installation underway.