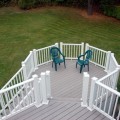
Building a Deck on Sloped Ground

Building a deck on a slope can be tricky, but you can easily do it when you know what steps to follow. The disadvantages to building a deck on a slope include the fact that the ground isn’t flat and you won’t be able to build a structure that’s level. You’ll also need to pay attention to the slope grade and ensure the deck is both secure and stable. While many decks aren’t built on slopes, sometimes you don’t have a choice if your house or building is already located on a slope.
You won’t be able to enjoy the slope by itself though, as grilling or sitting on chairs are nearly impossible. Adding to your property by building a deck can help you use that space effectively. Your family or customers will enjoy spending time in this new area. The steps below will show you how to properly and securely build a deck on a slope.
Dig Foundation Holes and Install Deck Posts
Head to the top of the slope and dig two holes in the foundation deep enough so that you can find solid soil, which may be down a foot or two, and 1 foot in diameter. The holes will help support a side of the deck. Next, place a deck post in the holes and measure the posts from the bottom to the deck’s height, accounting for one extra foot on the end of each post. That extra length will eventually be cut off once you determine the final height of the deck.
Fill the Holes With Concrete
Fill the holes with concrete and give them time to dry completely. You can find out whether the posts are level by using a water bubble level when the concrete starts to dry. Place a string on each post and have it extend to the spot where you want the opposite side of the deck to be. You can leave the strings on the posts for now and make a mark in the ground where the support posts will go.
Work on the Second Side of the Deck
You’ll want to dig two additional support holes for the other side of the deck at the lower part of the slope. Place two long deck post beams in the holes and measure them with a string to make sure they’re long enough to be able to support your deck. You’ll repeat the steps you took on the other side and fill the holes you made with concrete. Repeat the same procedure to make sure they’re level.
Tie the string on the new posts at the height you want the deck to be so that you’ll have a guide for your floor beams. Take a level and hold it up to the string to make sure it’s accurate and straight. Mark the posts where you want to secure the deck beams. Attach the posts and deck beams by using 3-inch bolts or nails, and look at the mark you made as the reference. Frame both sides by using beams that are an appropriate length based on whichever type of board you decide to use.
Attach the Floor Beams
Use 3-inch nails or metal braces to attach the floor beams to the deck beams. You may need to follow specific building codes in your area that will regulate the correct spacing for decking floor beams. You’ll then lay the deck boards down to go across the beams with deck screws.
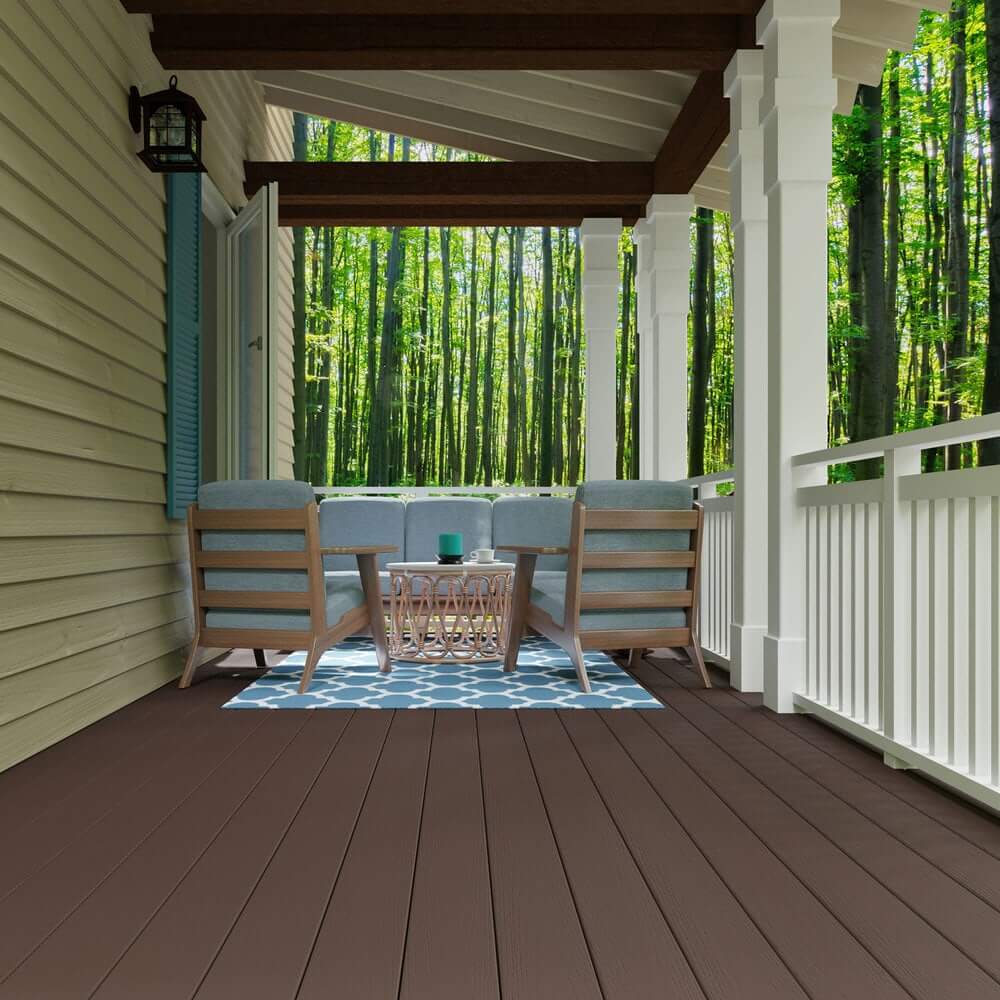
Add a Railing
Many decks that aren’t at ground level will need a railing for safety. Building codes often list what the railing spacing, baluster width, and height need to be, so check with your local codes first. For an easy railing solution, you can buy a premade railing system available at many home improvement stores. It’s also easy enough to build it yourself by using a 2-by-2-foot or 2-by-4-foot piece of lumber to make a basic design.
A typical railing height is anywhere from 36 to 42 inches, so make sure your balusters are cut to the proper height. Next, cut the top rail pieces to measure about 2 feet by 4 feet. If the rail pieces are too long around your deck for one piece of 2-by-4-foot board to go across, you’ll have to segment the rail. A 2-by-2-foot picket will need to be installed for every seam in order to be able to support the bearing.
All the balusters will then get attached to the outside edge of the decking with lag screws. You should make sure you don’t have more than 9 inches of space between each baluster. Test the balusters by using a level to make sure they’re plumb as you continue. Next, attach the support posts and pickets to the top rail by using deck screws.
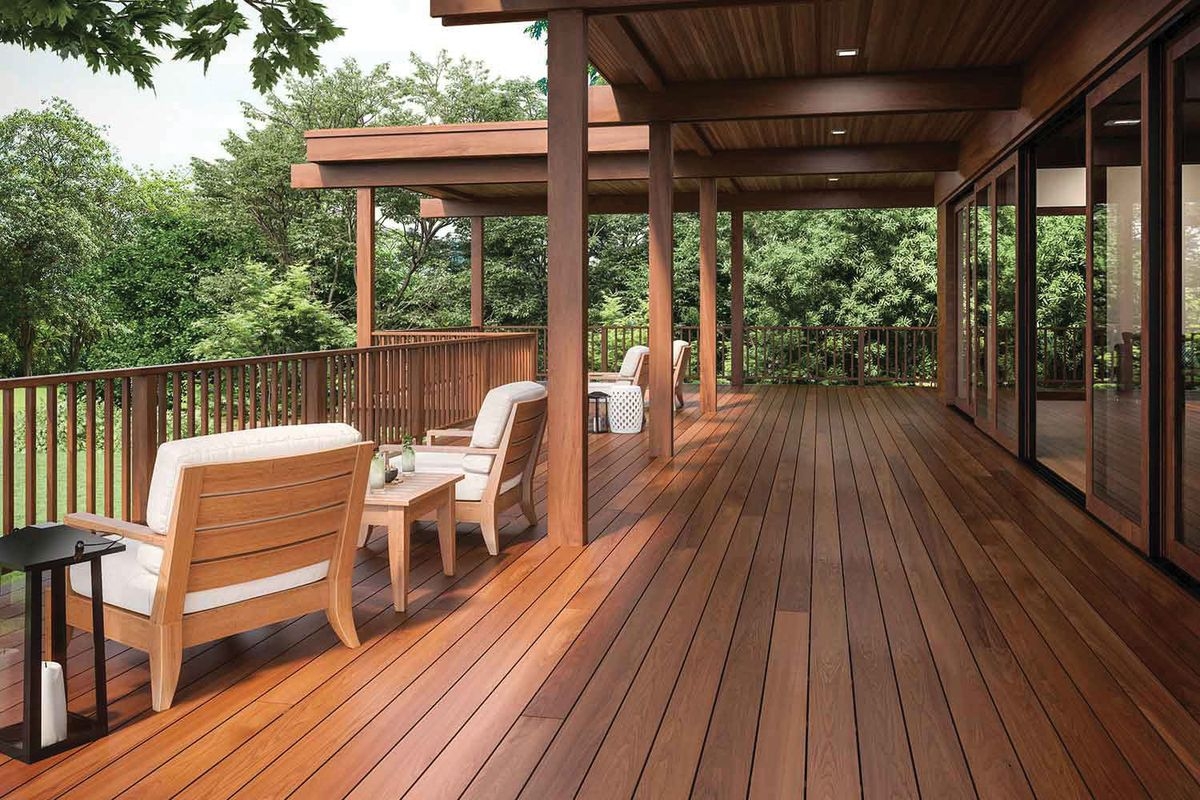
Add a Wood Finish
Finally, you’ll want to choose a paint or exterior wood stain to finish the deck. Find all rough areas and sand them before you begin coating them with stain or paint. Make sure you have enough time for each coat to fully dry before you apply another coat of paint or stain. Once the stain or paint is dry, apply polyurethane so that the finish will be protected even further.
Leave this finish on to dry and lightly sand the surface between each coat. If the area is big, think about renting professional sanding equipment for this project so that you’ll get the smooth surface you need to finish the job successfully.
When you follow the tips above, you’ll be able to install a deck on a slope without needing assistance. It’s essential to note the differences when building a deck on a flat surface and building a deck on an uneven surface, as posts and other materials will be different sizes. When you plan ahead with the proper steps and get the materials you need in advance, you’ll be able to complete this project efficiently.