3 Easy Step-By-Step DIY Deck Projects
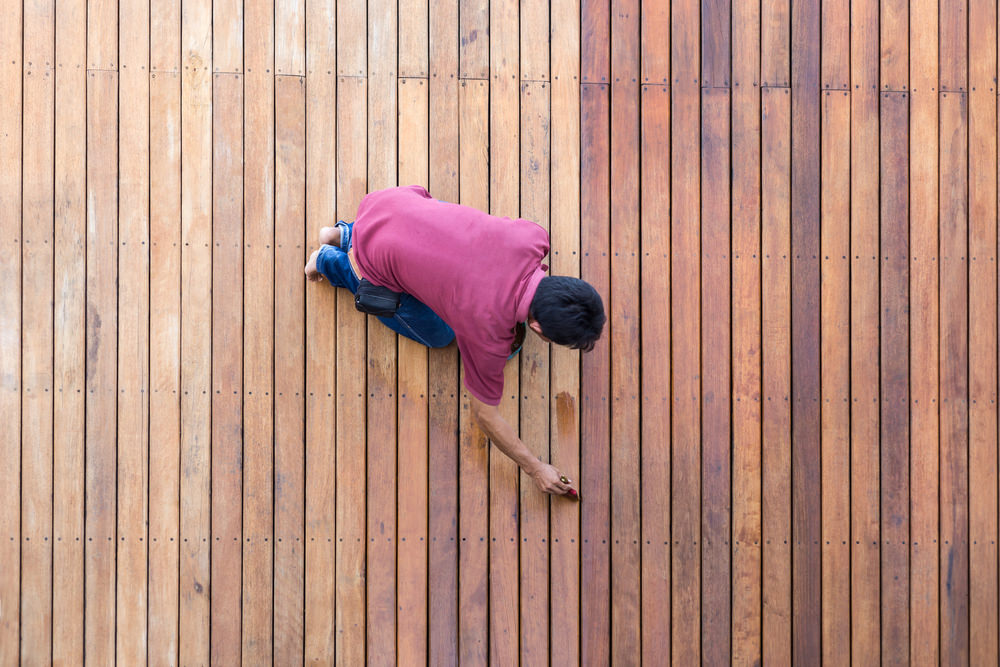
Many homeowners enjoy having a wood or composite deck, even though owning a deck involves some extra outdoor maintenance. Although major deck repairs are difficult to do by yourself, minor issues such as repairing loose boards and addressing discoloration are simple enough for a DIY weekend project. Learn how to do the following three minor deck repairs on your own to extend the life of your deck.
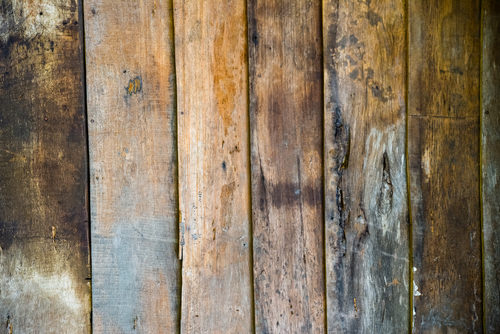
1. Fix Stains or Discoloration
Over time, decks develop stains and discoloration for several reasons. Sometimes, mold and mildew are the culprit, and at other times, flaking paint or wood stain causes uneven patches in your deck’s coloring. Fixing deck discoloration is a project all homeowners should know how to do.
Tools & Supplies
- Bleach
- Soap and water
- Soft bristle brush
- Paint scraper
- Stain remover
- Sander
- Eye protection
- Power washer
Step One:
Check to see if the stains are caused by mold. Decks that spend large parts of the day in the shade or that get wet often can develop mold. Use a small amount of bleach on one of the discolored spots. If the bleach dissolves the spot, cleaning your deck with a soft bristle brush and the right cleanser will remove discoloration. For composite decking, soapy water is all you need. For wood, mix warm water and bleach in a 4-1 ratio.
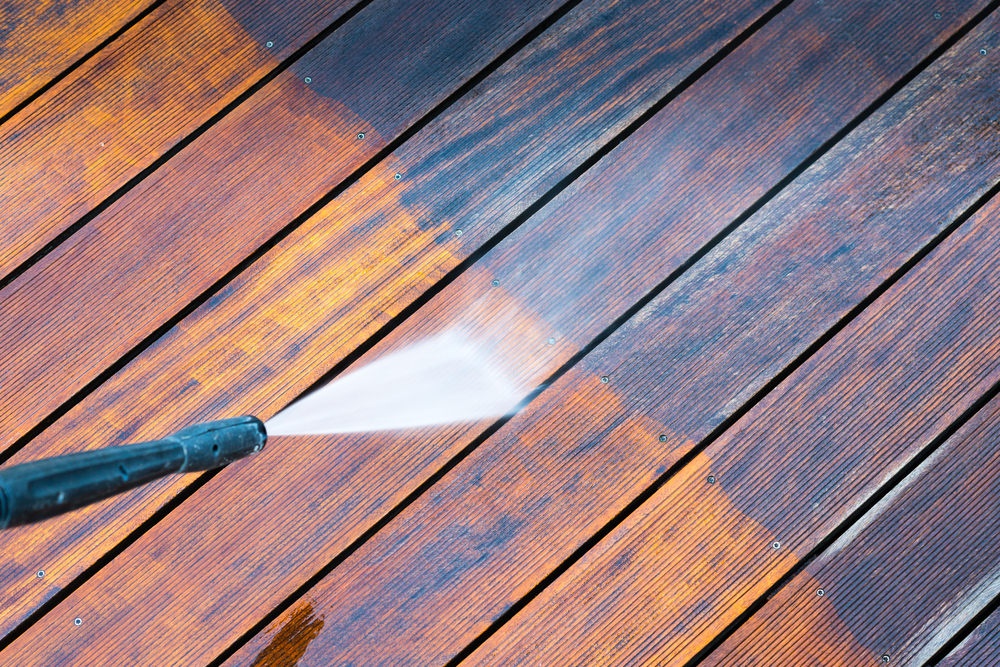
If the discoloration problem coats a large part of your deck, a power washer can take care of the problem in a matter of minutes. Power washing the deck will remove mold and mildew discoloration and strip off the dirt that becomes ingrained in the wood. Enjoy a fresher deck color that’ll be easier to stain or paint after power washing.
Tip: If the power washer misses certain stubborn spots, scrubbing those areas by hand can help address problem areas.
Step Two:
Discoloration sometimes occurs because your old stain wears off unevenly. Don’t paint over the old stain without sanding or stripping it off. Otherwise, you’ll face a patchy deck with uneven color. Start by removing the discolored stain with a paint stripper. Then, use stain remover to take the remaining stain off the deck. If you have any stubborn spots, you may have to sand away the stain. Once you’ve removed the old stain, you’re ready to repaint.
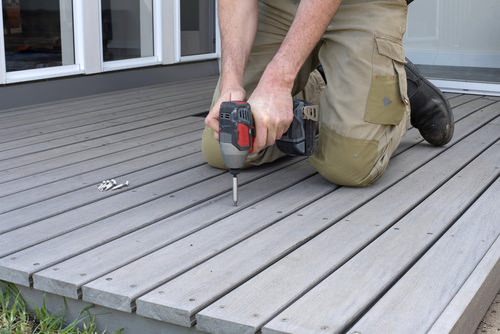
2. Fix Loose Deck Boards
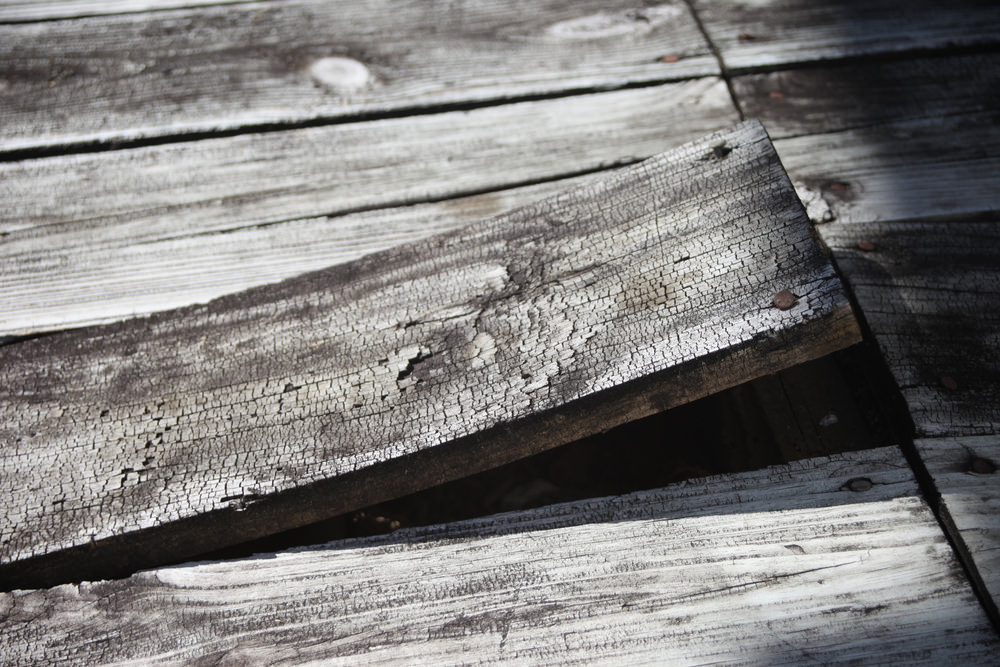
Loose deck boards aren’t only a cosmetic issue; over time they can become safety hazards, too. When your deck consistently gets wet or spends most of the day in the shade, or when you use the deck all the time by constantly walking on it, deck boards will start to loosen. Even a well-maintained deck will eventually have a few loose boards. Here’s how to fix the problem.
Tools & Supplies
- Drill
- Wood screws
- Hammer
- Nails
Step One:
Test your deck boards with your body weight by stepping on each one. When you find a loose deck board, you can use either nails or screws to tighten it, although the result you get with screws will last longer. Start by removing the existing fastenings. Drill new holes for screws in the wood of the deck, then replace the board and tighten it with new wood screws.
Step Two:
Sometimes, your deck boards become loose because they’ve warped over time. When boards become warped or curled, you don’t always need to cut them out and replace them. Before taking that complicated route, try straightening the existing boards first. Start by removing the screws or nails that hold the board in place so that you can pull it from the deck.
If the warping is minor, you can reattach the same board. Place the screws through different parts of the wood. This adjustment changes the tension on the board and will often fix the warping issue.
Tip: If nails originally fastened your deck boards, use wood screws when you make repairs. Wood screws are less likely to slip out of place and prevent boards from curling in the future.
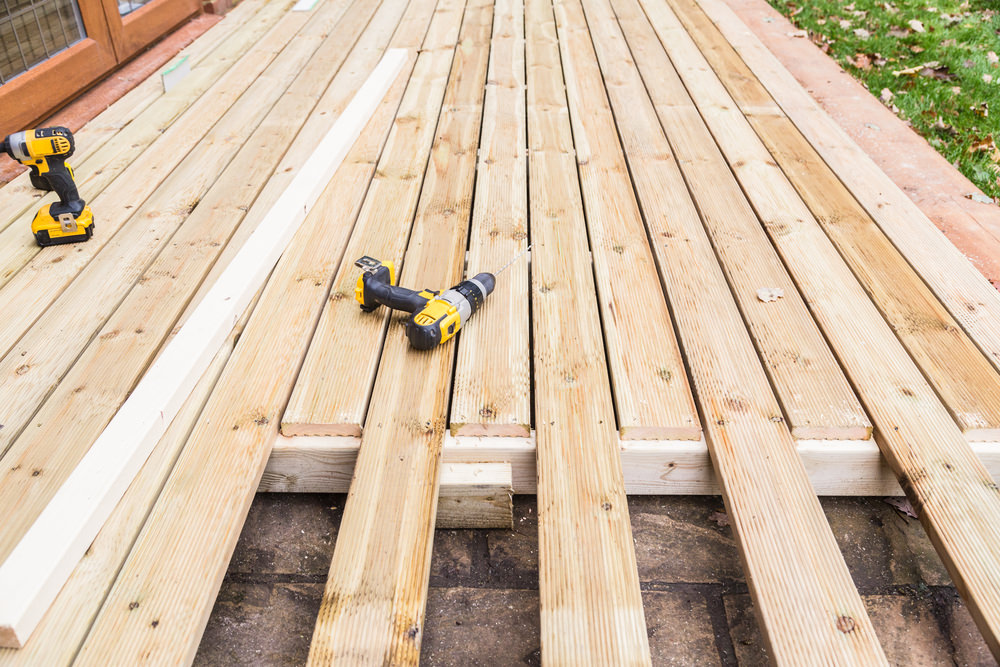
3. Stain an Unfinished Deck
Tools & Supplies
- Wood stain with UV blockers and insecticide
- Paint with oil or an alkyd primer
- Paint rollers
- Paint brushes
- Paint tray
- Pump-style sprayer
Step One:
Choose the right time to paint or stain your deck. If the weather forecast calls for rain the day after you plan to paint or stain, put off painting your deck for sunnier weather. Paint or stain a small part of your deck before you coat all the boards. Let the material dry so that you can see how the finished product will look. When you have a result you like, use a small paintbrush and address any tough corners, detail work, or parts of the deck that rest up against or near the house.
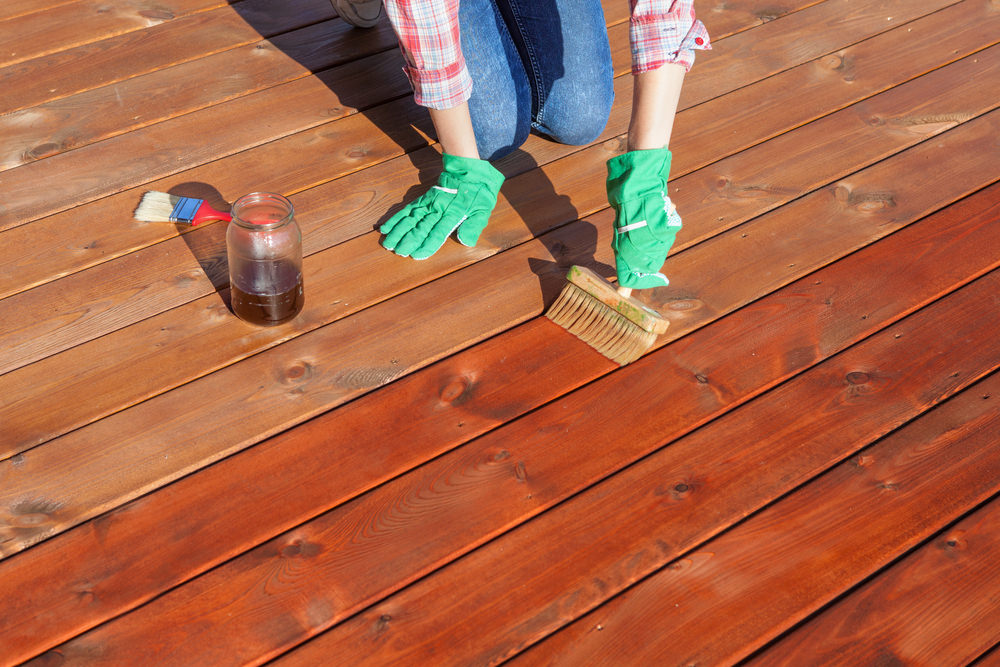
Step Two:
For a small deck, rollers and brushes will work well. While you’re painting, coat two to three boards at a time using long strokes. Always brush wet portions of paint into wet portions of paint to prevent any brush marks from showing as the paint dries. Larger decks will require using a pump-style sprayer to save time. You can rent one at a hardware store or rental center. Make sure to cover nearby exterior walls with drop cloths so that you don’t spray the side of your home.
Tip: Sometimes stain clogs in the nozzle of a paint sprayer. Dilute the stain slightly if you experience this problem.
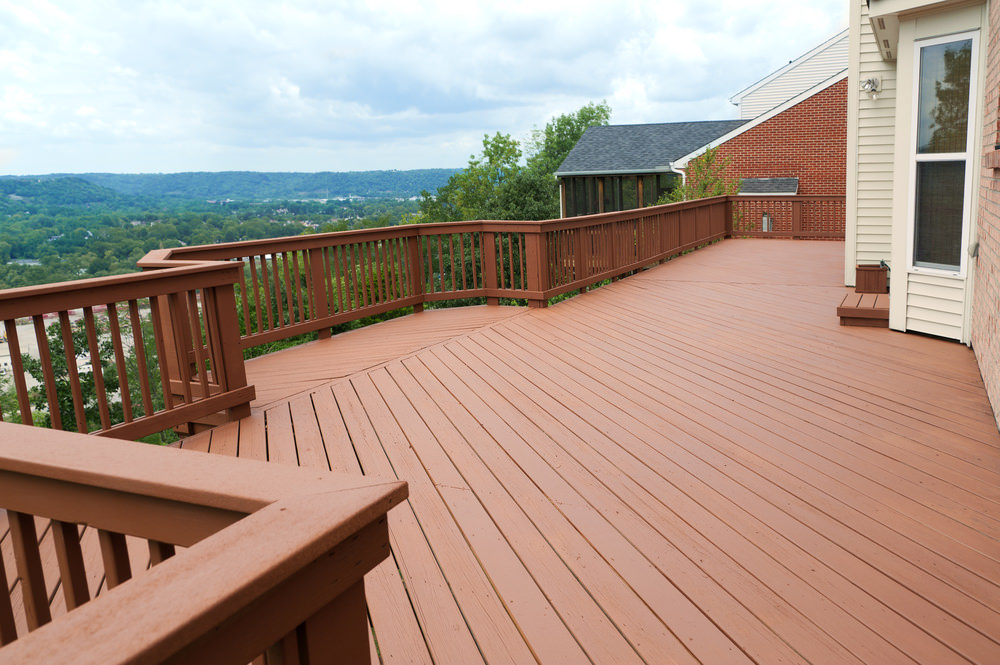
Add basic deck repair to your list of home maintenance tasks. Even if you’re uncomfortable around power tools, the deck repairs presented above are simple enough that most homeowners can get a good result.

Questions about decking maintenance? Ask us in the comments section below!
Pingback: DIY Deck Repairs – DIY Today Online Network