How to Install Glue Down Vinyl Tile Flooring
|
|
Time to read 3 min
|
|
Time to read 3 min
Before you even think about laying the tile down, you’ll need to make sure you’re entirely prepared for this project. Preparing well and following the right installation procedure minimizes waste, lowering the cost to install vinyl flooring. For starters, that means accurately measuring the length and width of your floor to find its total area. After you’ve calculated the area, you’ll now need to figure out how many boxes of tile you’ll need. To do this, simply take the square footage that accounts for the entire surface and divide it by how many square feet your box of vinyl tile has in it. For instance, if your floor’s square area is 100 feet, and each box of tile equates to 10 square feet, you’ll need 10 cartons of tile. Of course, it’s always a good idea to have a little extra on hand to be better safe than sorry. Often, purchasing 10-15% extra for waste is recommended.
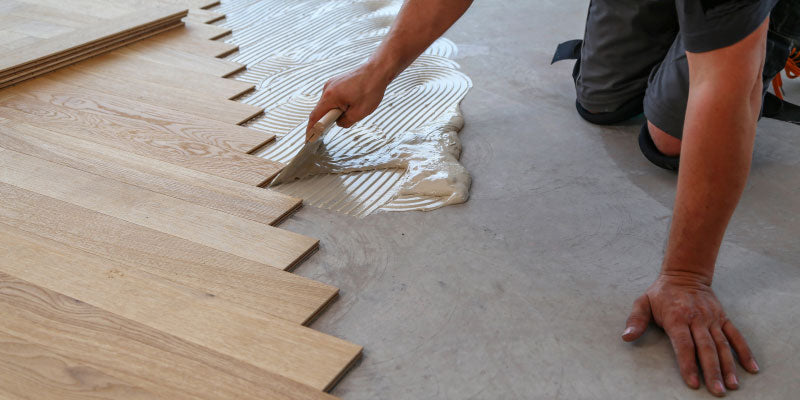
One of the great aspects of installing vinyl tile flooring is that you can simply lay it over existing floor surfaces. However, it’s important to determine whether your previous floor is in good enough condition to have new vinyl tile covered over it. If you’re unsure, contact a professional installer so you can get an appropriate assessment of whether your old floor is suitable enough to have the new vinyl tile placed over it. You may encounter a scenario in which your old floor is simply too difficult to repair or replace, in which case you’ll need to rip it up and properly prepare your substrate before you install the vinyl tile. Plywood is a commonly used substrate in this instance. After you’ve decided whether you’re covering an existing floor or you’re starting from scratch, you’ll need to divide the floor up and indicate the room’s center point. Essentially, you’ll want to create a grid, so lay down some thin chalk line to mark the floor’s quadrants, starting from the center. This will help you better visualize where the tiles will be placed. An essential rule to installing vinyl tile flooring is to begin at the center of your room, rather than at one of the corners. When you’re about to begin installing the tile, you’ll need to spread an adhesive using a trowel onto the substrate, so the vinyl squares will remain fully bonded. Make sure you’re gently pressing the tiles onto the floor, and once you’ve completed one row, start on the next. It’s highly likely that your row of tiles won’t perfectly fit into your space, so make sure you measure the remaining length of tile needed to complete a row, then cut another piece of tile to fit the adjacent space. For a smart finish, use the right tool when cutting vinyl flooring. A miter saw is best, but, in the right hands, a utility knife can also work well. Once you have the tile laid down, you’re approaching the home stretch. The best environmental conditions for installation requires keeping the temperature of the subfloor between 65°F to 85°F (18°C to 29°C) for 48 hours prior to, during and 48 hours after installation. Make sure your tiles fit tightly against each other and if you notice any of the gel beginning to ooze out of the edges, quickly wipe it up with a damp rag. Remember, flooring must be installed within two hours of applying the adhesive. You also won’t want to wash your new floor for at least a week because you want to give the adhesive time to settle. Apply pressure to each tile so they bond to the substrate by using a vinyl floor roller. Make sure you don’t walk on it right away, give it at least a few hours to bond. Soon enough, you can stand back and admire your brand new vinyl tile floor! As always, when installing flooring, follow the manufacturer’s recommendations specific to your product. Contact a professional installer if you have any further questions.Know what you are installing on top of
Divide your floor
Begin in the center
After you’ve laid the tile