Engineered Flooring Installation: PRO or DIY?
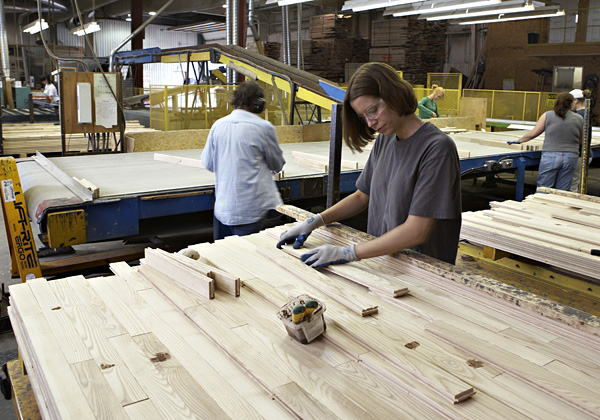
Hardwood flooring is considered to be one of the most timeless flooring options for any home. Back in the day, solid hardwood was the only choice to achieve this look. Fortunately, the development of engineered wood flooring has provided another option with many of the same benefits of solid hardwood floors.
When you choose engineered wood flooring for your home, you get the look and feel of solid wood floors at a fraction of the price. Since potential savings are a major incentive for choosing engineered floors, it’s no surprise many homeowners hope they can save even more by installing it on their own. But depending on what type of engineered floors you choose, DIY installation might be more difficult than you’d expect. Here’s what you need to know when deciding whether you want to install your own engineered wood floors or hire professionals to do the job for you.
Consider the Space
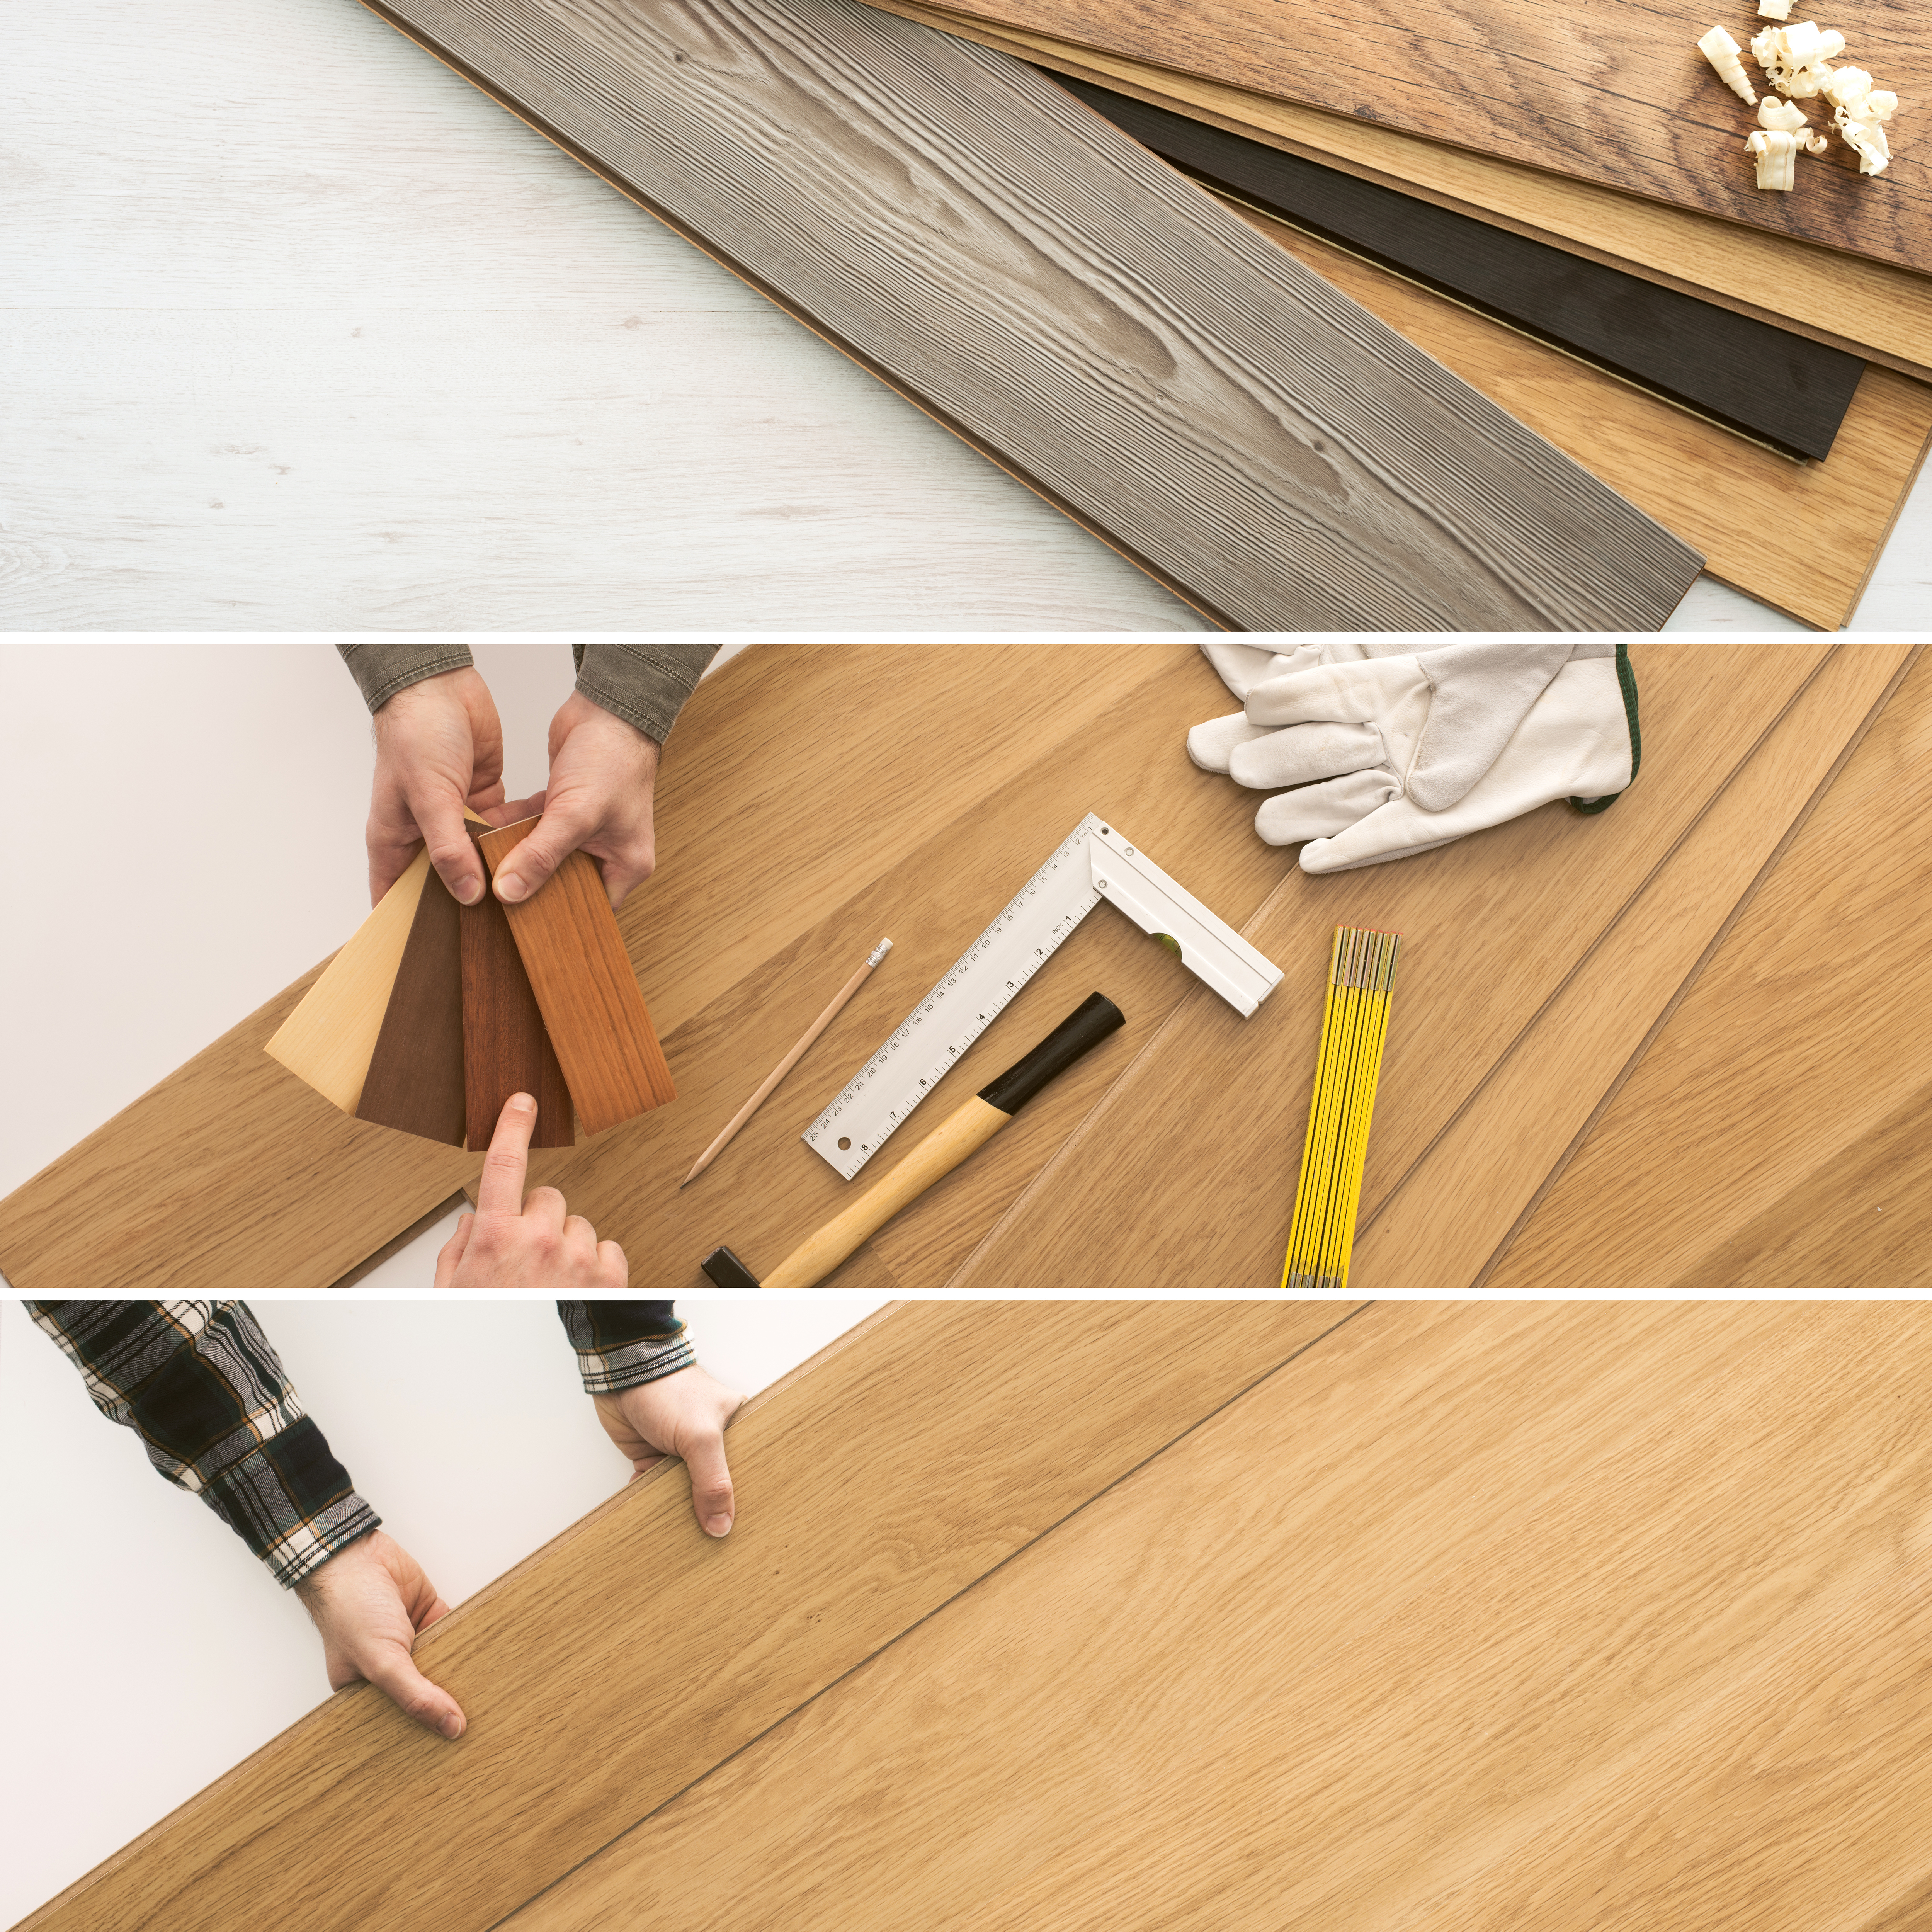
Where do you plan to install your engineered wood floors? This is a critical component to consider when deciding whether DIY installation is the best choice. If the space has many odd angles or edges, it can be difficult to make all the right cuts to fit it perfectly into the space.
Will you need to fit the flooring around hearths, stairs, cabinets, or floor registers? This will add much time and detail work to the installation, so be sure you’re up to the task before deciding to go the DIY route.
If you are doing your own installation, you’ll also need to measure properly to order the correct amount of flooring. Calculate the square footage of the space, then add a little extra to account for cuts or mistakes. For a simple, straight-course flooring installation, you’ll only need to order about 5 to 7 percent extra. For a complex installation with many unique angles and edges, or when installing a herringbone pattern floor, add 15 percent extra to your order.
What Kind of Tools Do You Need?
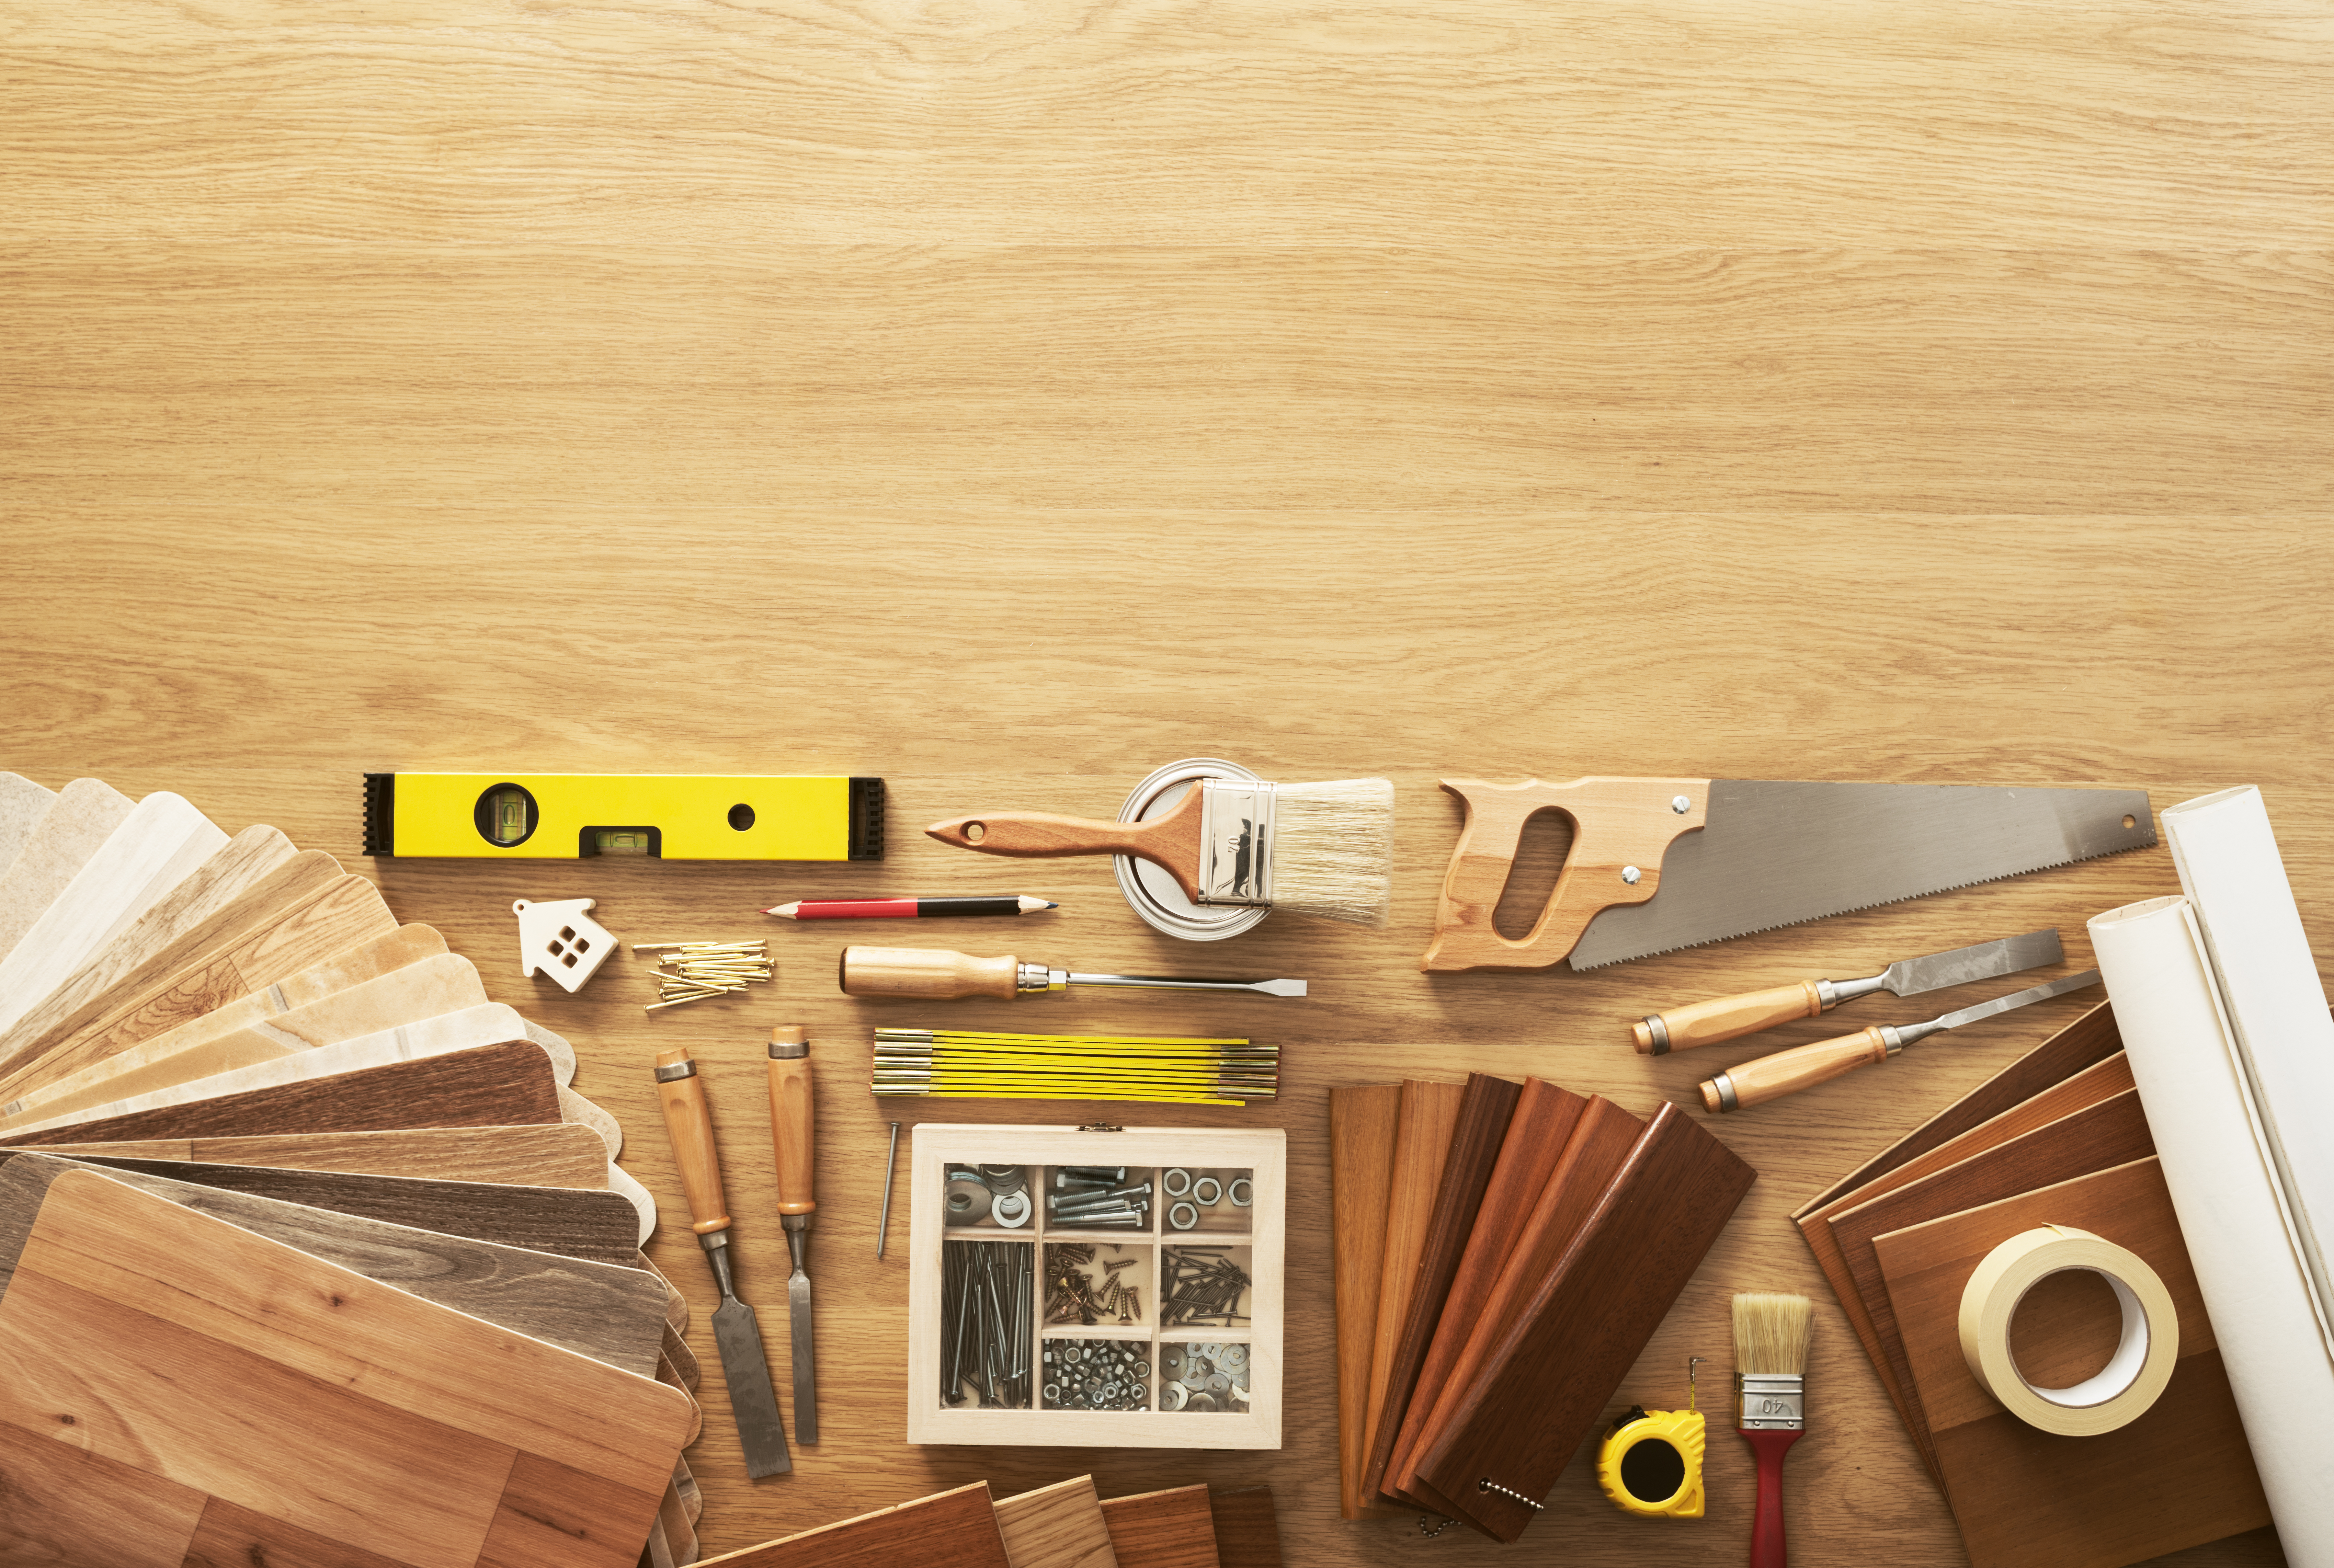
If you plan to install your own engineered floors, be sure you have the right tools on hand. While you’ll certainly save money by making it a DIY project, it’s important to remember there may be costs involved in stocking up on materials and buying or renting the necessary equipment. Here’s what you’ll need:
- Staple gun
- Pneumatic stapler
- Finish nailer
- Air compressor
- Miter saw
- Table saw or circular saw
- Rubber mallet
- Awl
- Tar paper.
You may also need to purchase new baseboard moldings and wooden thresholds to complete your DIY engineered wood flooring installation.
What Type of Underlayment Do You Need?
Most types of engineered wood floors require an underlayment. This extra layer underneath will help keep the floors in good condition while also making it a bit easier to complete a DIY installation.
Tar paper is the most common type of underlayment used with this type of flooring. It helps to form a moisture barrier to prevent condensation from floors below from rotting away the bottom of your engineered wood planks. One exception to this common installation requirement is any type of engineered wood installed with glue. Generally, no underlayment is required with a glue-down application.
If you’re not sure which type of underlayment is right for your home, consult the manufacturer’s instructions for the engineered wood flooring you’ve selected.
Do You Have Stairs?

Jasper Engineered Hardwood – Myth Birch Collection / SKU: 15053799
Adding engineered wood flooring on your stairs can make them look stylish and sleek. However, it does make DIY installation a bit more complicated. You’ll want to set aside extra time for the project if you plan to add engineered wood to a staircase in your home, since the process is much more complex compared to installation on the floor.
Start by prepping the stairs for installation. You’ll want to remove any protruding staples or nail heads, screw down creaking boards, and remove any existing nosing. Ensure you have a dry, flat surface on each step. Measure and cut each individual stair carefully. If you have spindles that attach to the stairs, you may need to make intricate cuts and connect two pieces around the spindle on each stair for a snug fit.
Be sure to work from the top of the stairs to the bottom. Finish by filling the nail holes in with wood putty and allowing the new wood planks to sit in place overnight before walking on them.
What Are Your Installation Options?
Perhaps the most important factor in your potential DIY project is which of the three main engineered wood flooring installation methods you’ll be using. While some methods are easier than others to complete, the one you’ll need to use depends on a number of factors, including what type of subfloor you have and the design of your engineered wood planks. Here are the installation methods used for installation engineered wood floors:
- Glue-down installation: If you have a concrete subfloor, you’ll probably need to use the glue-down method to install your engineered wood floors. While this process is a bit more time-consuming, it generally does not require an underlayment.
- Nail/staple installation: Homeowners with a wooden subfloor can use a nail-down or staple-down installation for their new flooring. An underlayment is generally required with this method. Pneumatic staplers or nail guns will help make the project easier and faster.
- Floating installation: This the most popular option for a DIY installation, since it does not require attaching the new floors directly to the existing subfloor. You’ll still need an underlayment. However, once that’s installed, you simply glue or snap the planks together to finish the project.
Engineered wood flooring is quickly becoming a popular option for homeowners who want an affordable upgrade for their space. With its significant savings over solid hardwood and the option to choose DIY installation, this is a relatively budget-friendly home makeover. Handy homeowners should be able to complete this project. However, for those without as much experience in home improvement, the floating installation method provides a simpler alternative that most should be able to tackle on their own.

Resources:
https://www.builddirect.com/blog/how-to-choose-an-engineered-wood-floor/
https://learning-center.builddirect.com/flooring/installing-glueless-floating-hardwood-floors/
https://www.thisoldhouse.com/how-to/how-to-lay-engineered-wood-floors
https://www.woodandbeyond.com/blog/underlay-for-engineered-wood-flooring/
https://www.hunker.com/12356307/how-to-install-engineered-wood-flooring-on-stairs
https://www.lowes.com/projects/build-and-remodel/how-to-install-an-engineered-hardwood-floor/project