How to Install Interlocking Deck Tiles
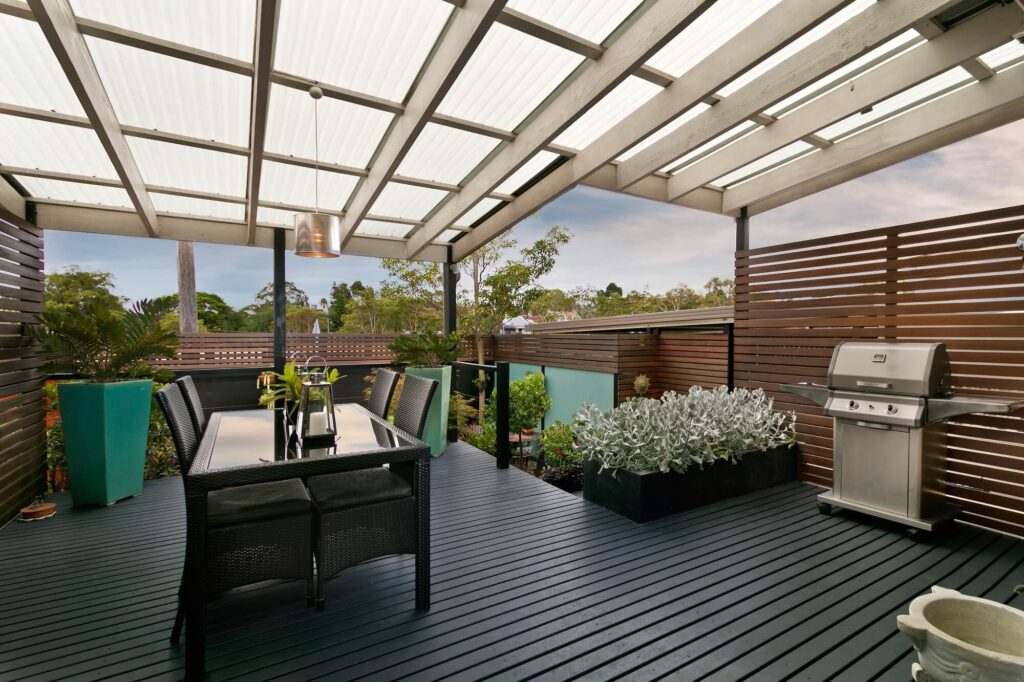
An outdoor space can be a true extension of your home but an old deck or patio can be an eyesore. Instead of ripping it out and starting from scratch, install interlocking deck tiles to completely transform the look of your existing deck or patio. No matter what your reasons for remodeling your deck, you’re sure to love the look and ease of installation offered by this modern outdoor material.
Why Use Interlocking Deck Tiles
When you’re designing an outdoor space, there are many different outdoor flooring materials available. Concrete and natural stone tile are popular options but they are also costly and require professional installation. A wood deck can be a challenging DIY project, as well. When you’re looking for a more modern selection, check out the wide range of interlocking deck tiles available at BuildDirect.
Long-Lasting Design
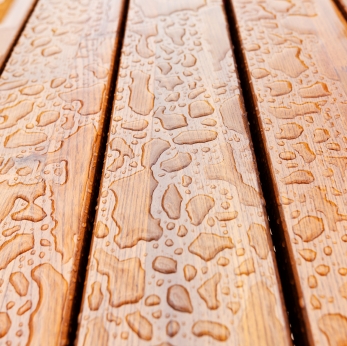
An interlocking deck is crafted from a variety of materials, including composite and natural hardwood. Because they are intended for outdoor use, they are designed to hold up to many years of exposure to the elements. You won’t have to worry about bugs, decay, or mold with these quick-install tiles. They are even UV resistant to prevent fading in the sun.
They’re Repositionable
The click-together design of these tiles makes them easy to re-arrange or remove down the line. This makes them a great choice for renters or anyone who may need to alter spaces down the road.
Versatility
Deck tiles aren’t just a great way to transform an outdoor space. You can check out many other ways to utilize deck tiles as well, including a children’s play area, garden walkway, and even transitional spaces.
Easy to Install
Unlike most other outdoor flooring options, interlocking deck tiles are specifically designed for easy installation. Their click-together design makes them easy to take on as a fun do-it-yourself project.
How to Choose Interlocking Deck Tiles
Once you’ve made the decision to install interlocking deck tiles, it’s time to make your purchase. To do that you have to consider three main things:
Choose a Finish
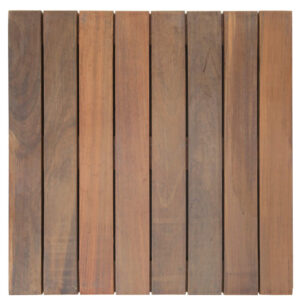
Like any flooring material, these tiles come in a variety of material and finish options from which to choose. Showcase the beauty of nature with a tropical hardwood deck tile or keep things a little more modern with an outdoor composite interlocking deck tile. Some tiles, such as the Kontiki Interlocking Deck Tiles provide a natural wood grain with a composite material.
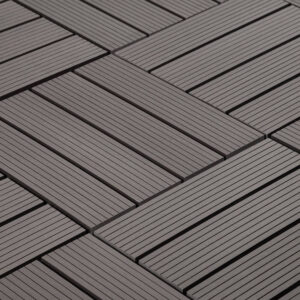
Choose a Pattern
Consider the pattern for laying out your deck tiles and the final look you want to go for. You can lay all the deck tiles in the same direction for a continuous look or alternate directions with each tile for a fun twist on things. If your pattern will require a different border, take note of that in your plans.
Determine the Amount Needed
Find the square footage of your outdoor space by measuring the width by the length of the area. Once you’ve found the square feet needed to cover your space, add ten percent to account for cuts and overage and place your order.
Installing Your Interlocking Deck Tiles
This material is truly designed so it can be installed by anyone in minimal time. Before you begin, note that two of the edges will feature loops while two of the edges will feature pegs. These two click together with a simple push, but before you begin, there are a few basic tools you’ll need to have on hand. We’ve outlined the steps, but you can always check out the video below to see how to install interlocking deck tiles.

What You’ll Need
- Interlocking Deck Tiles
- Measuring Tape
- Pencil
- T-Square or Straight Edge
- Jigsaw or Hand Saw
- Sandpaper or Hand Sander
Step 1: Prepare the Surface
Deck tiles need to be installed on a smooth, even surface. They can be installed directly over concrete, brick, wood, vinyl, or another dense and supportive surface. Before you begin the installation, sweep the surface and check for any loose or uneven areas that may cause an issue when clicking the tiles together.
If you don’t have an existing structure, you can also install these tiles over a compacted and flat ground that is topped with a landscape geo mesh that prevents weeds and grass from growing up through the tiles.
Step 2: Finalize A Pattern
Using a few of the deck tiles, start to lay out a pattern. Step back and make sure the pattern provides the visual look you prefer. Make sure to include any borders you’ve chosen in your pattern.
Tip: If you don’t want to lay a matching border, consider laying some small stones around the perimeter for a spa-inspired border.
Step 3: Start in A Corner or the Center
Starting in a corner and working your way down a straight wall or area, start clicking the tiles together. If you’ve chosen a border, you may start with the border instead of a row of full tiles. When you don’t have a corner, start in the center of a long wall and work your way out from both sides. When you’re done with the first row, you can move on to the second and subsequent rows.
Step 4: Make Any Cuts Necessary
You may find that some tiles need cut down to size. When this is the case, mark the tile with a pencil and a straight edge. When making cuts, make sure to turn the tile over and make sure there aren’t any fastening screws along your cut line. If there are screws, remove them and move them to another spot on the grid.
Use a jigsaw to cut the interlocking deck tile to the correct size. As you do this, stop to think about how that tile will click into place and make sure you’re cutting off the proper edge. Once you’ve made the cut, sand down the cut edge using a sanding block or hand sander before clicking it into place.
Tip: If you have to cut around an object, make a template using a piece of cardboard first and use the template to cut your tile using the jigsaw.
Ready to Refresh?
With tiles this easy to install, you’ll want to refresh all your outdoor spaces. You can even take these tiles indoors for use in a sunroom or an unfinished basement where larger equipment may be harder to use.